1950's Watch Build Tutorial

  • Please add our email support@horologyboard.com and/or domain horologyboard.com into your whitelist to make sure emails are not filtered or blocked. If you have registered but have not received your activation email, please check you spam/junk folder. If you still cannot find your email to activate your account, please Contact Us. Thank you.

NCRich

Content Contributor
Ambassador
Feb 4, 2018
643
1,981
143
Haven't done a serious metal drilling build in a while so I ordered three "1950's" Rolex models from Marvellous Replica. These are 2813 models and pretty inexpensive at about $100.


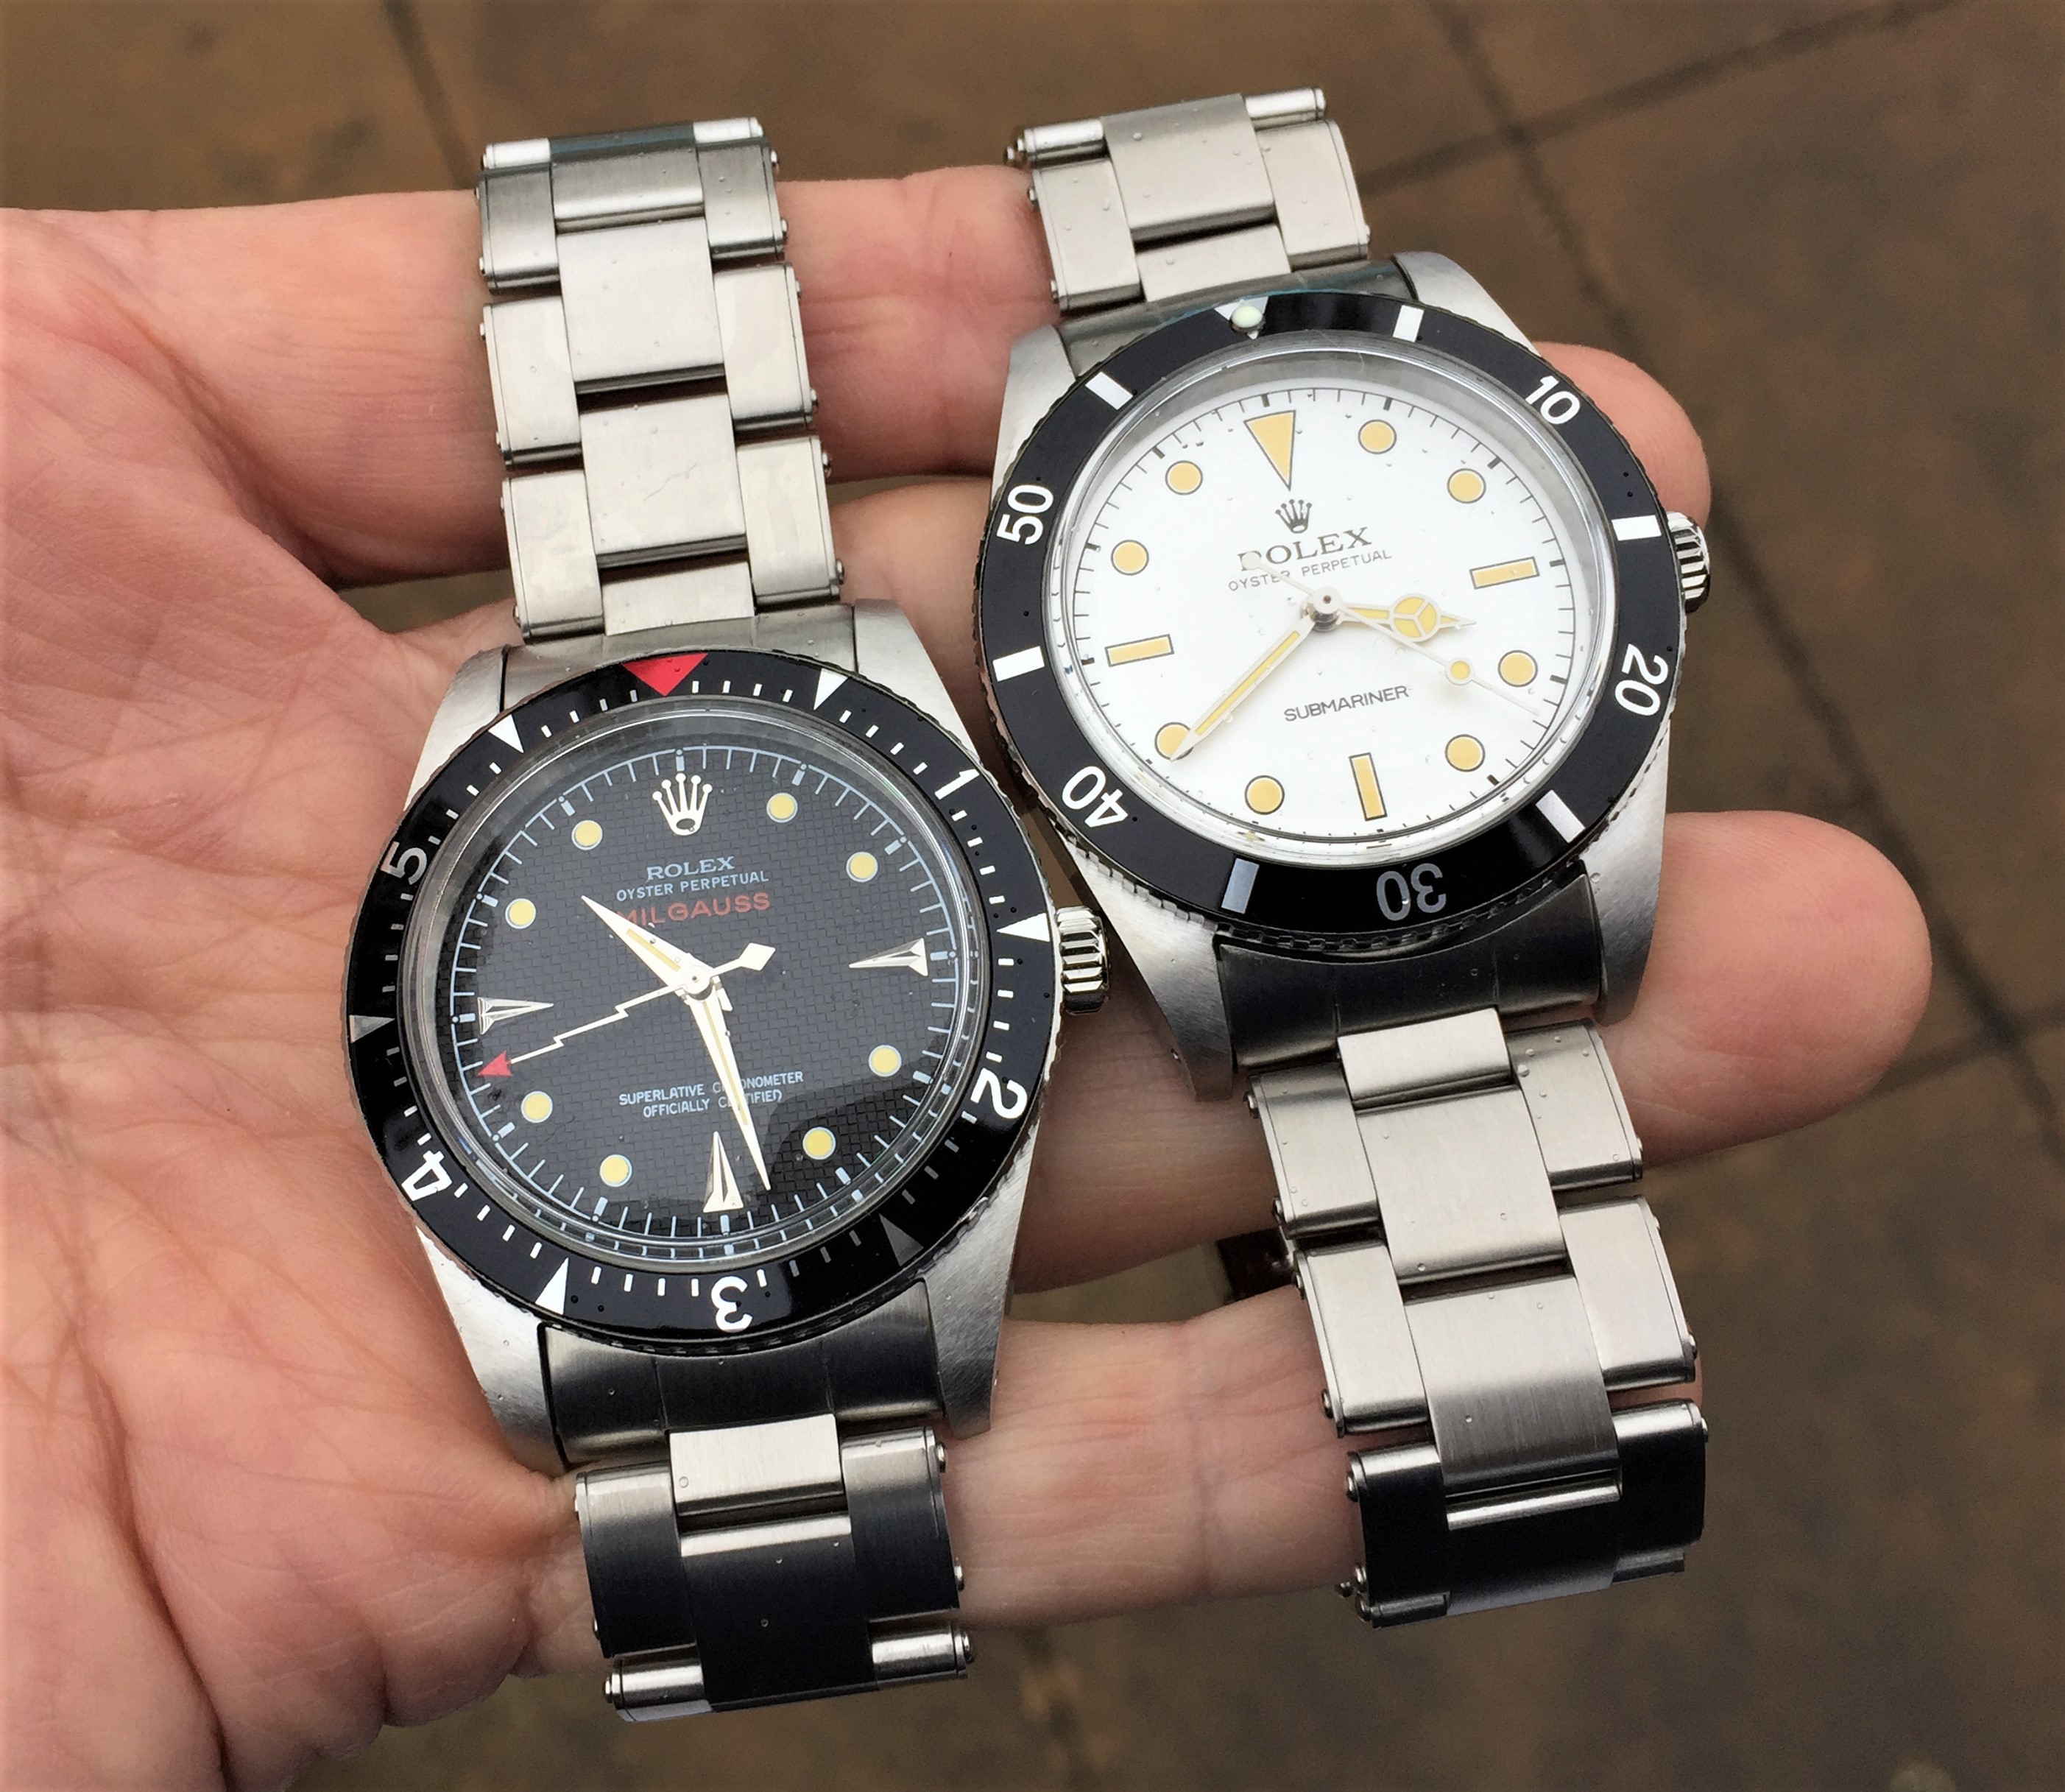
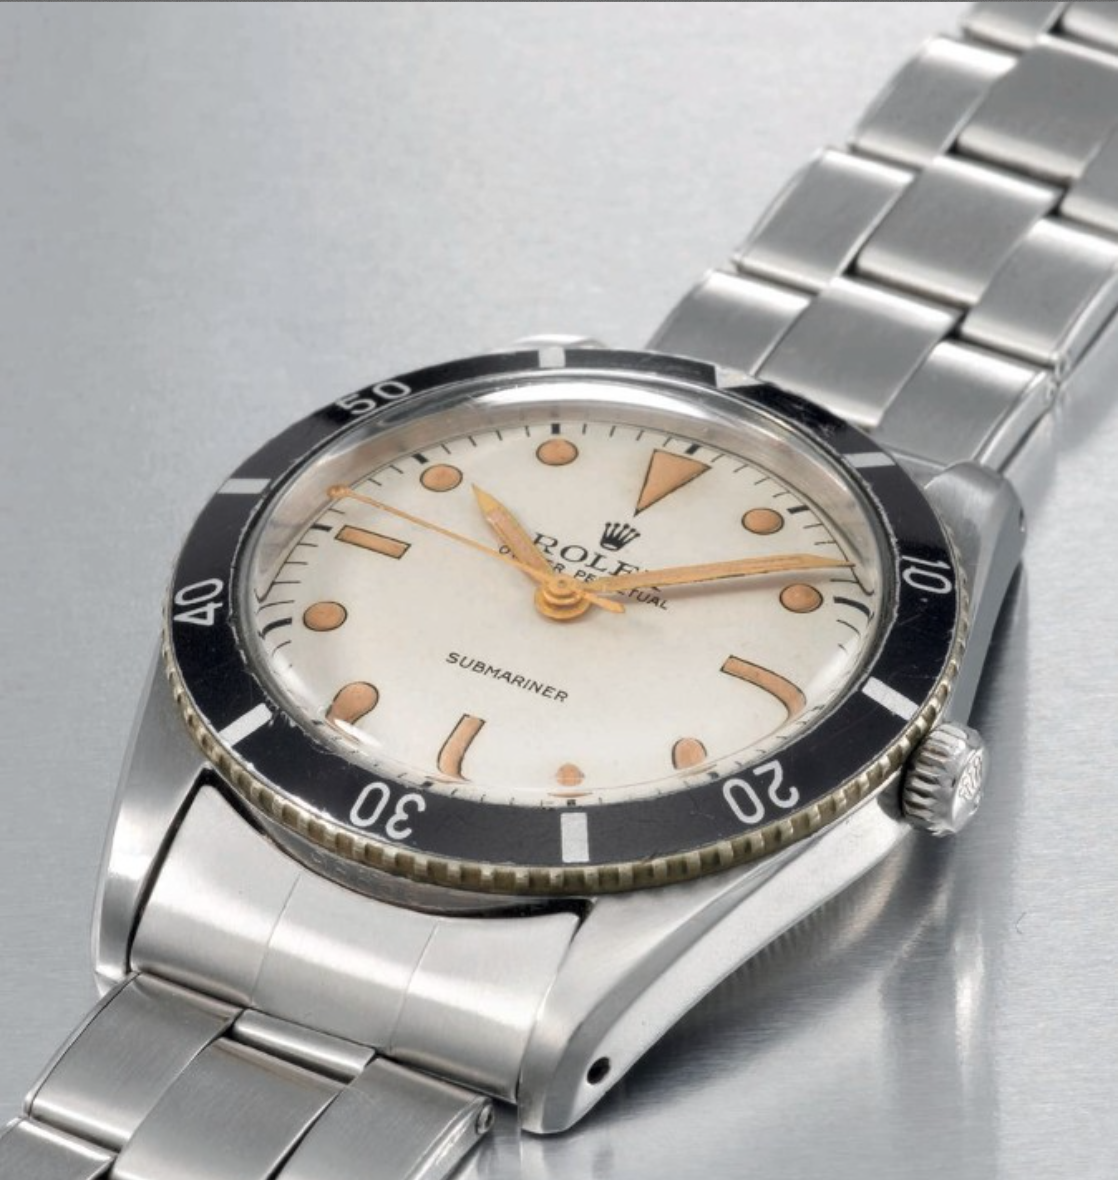
They are rather cheap feeling with sharp edges, bright metal, and a bezel that threatens to cut you. Still not a bad base as these cases are what everyone uses for lower cost big crown builds. Pretty good value if you know what to do with it. I'd like to build something like these gens.


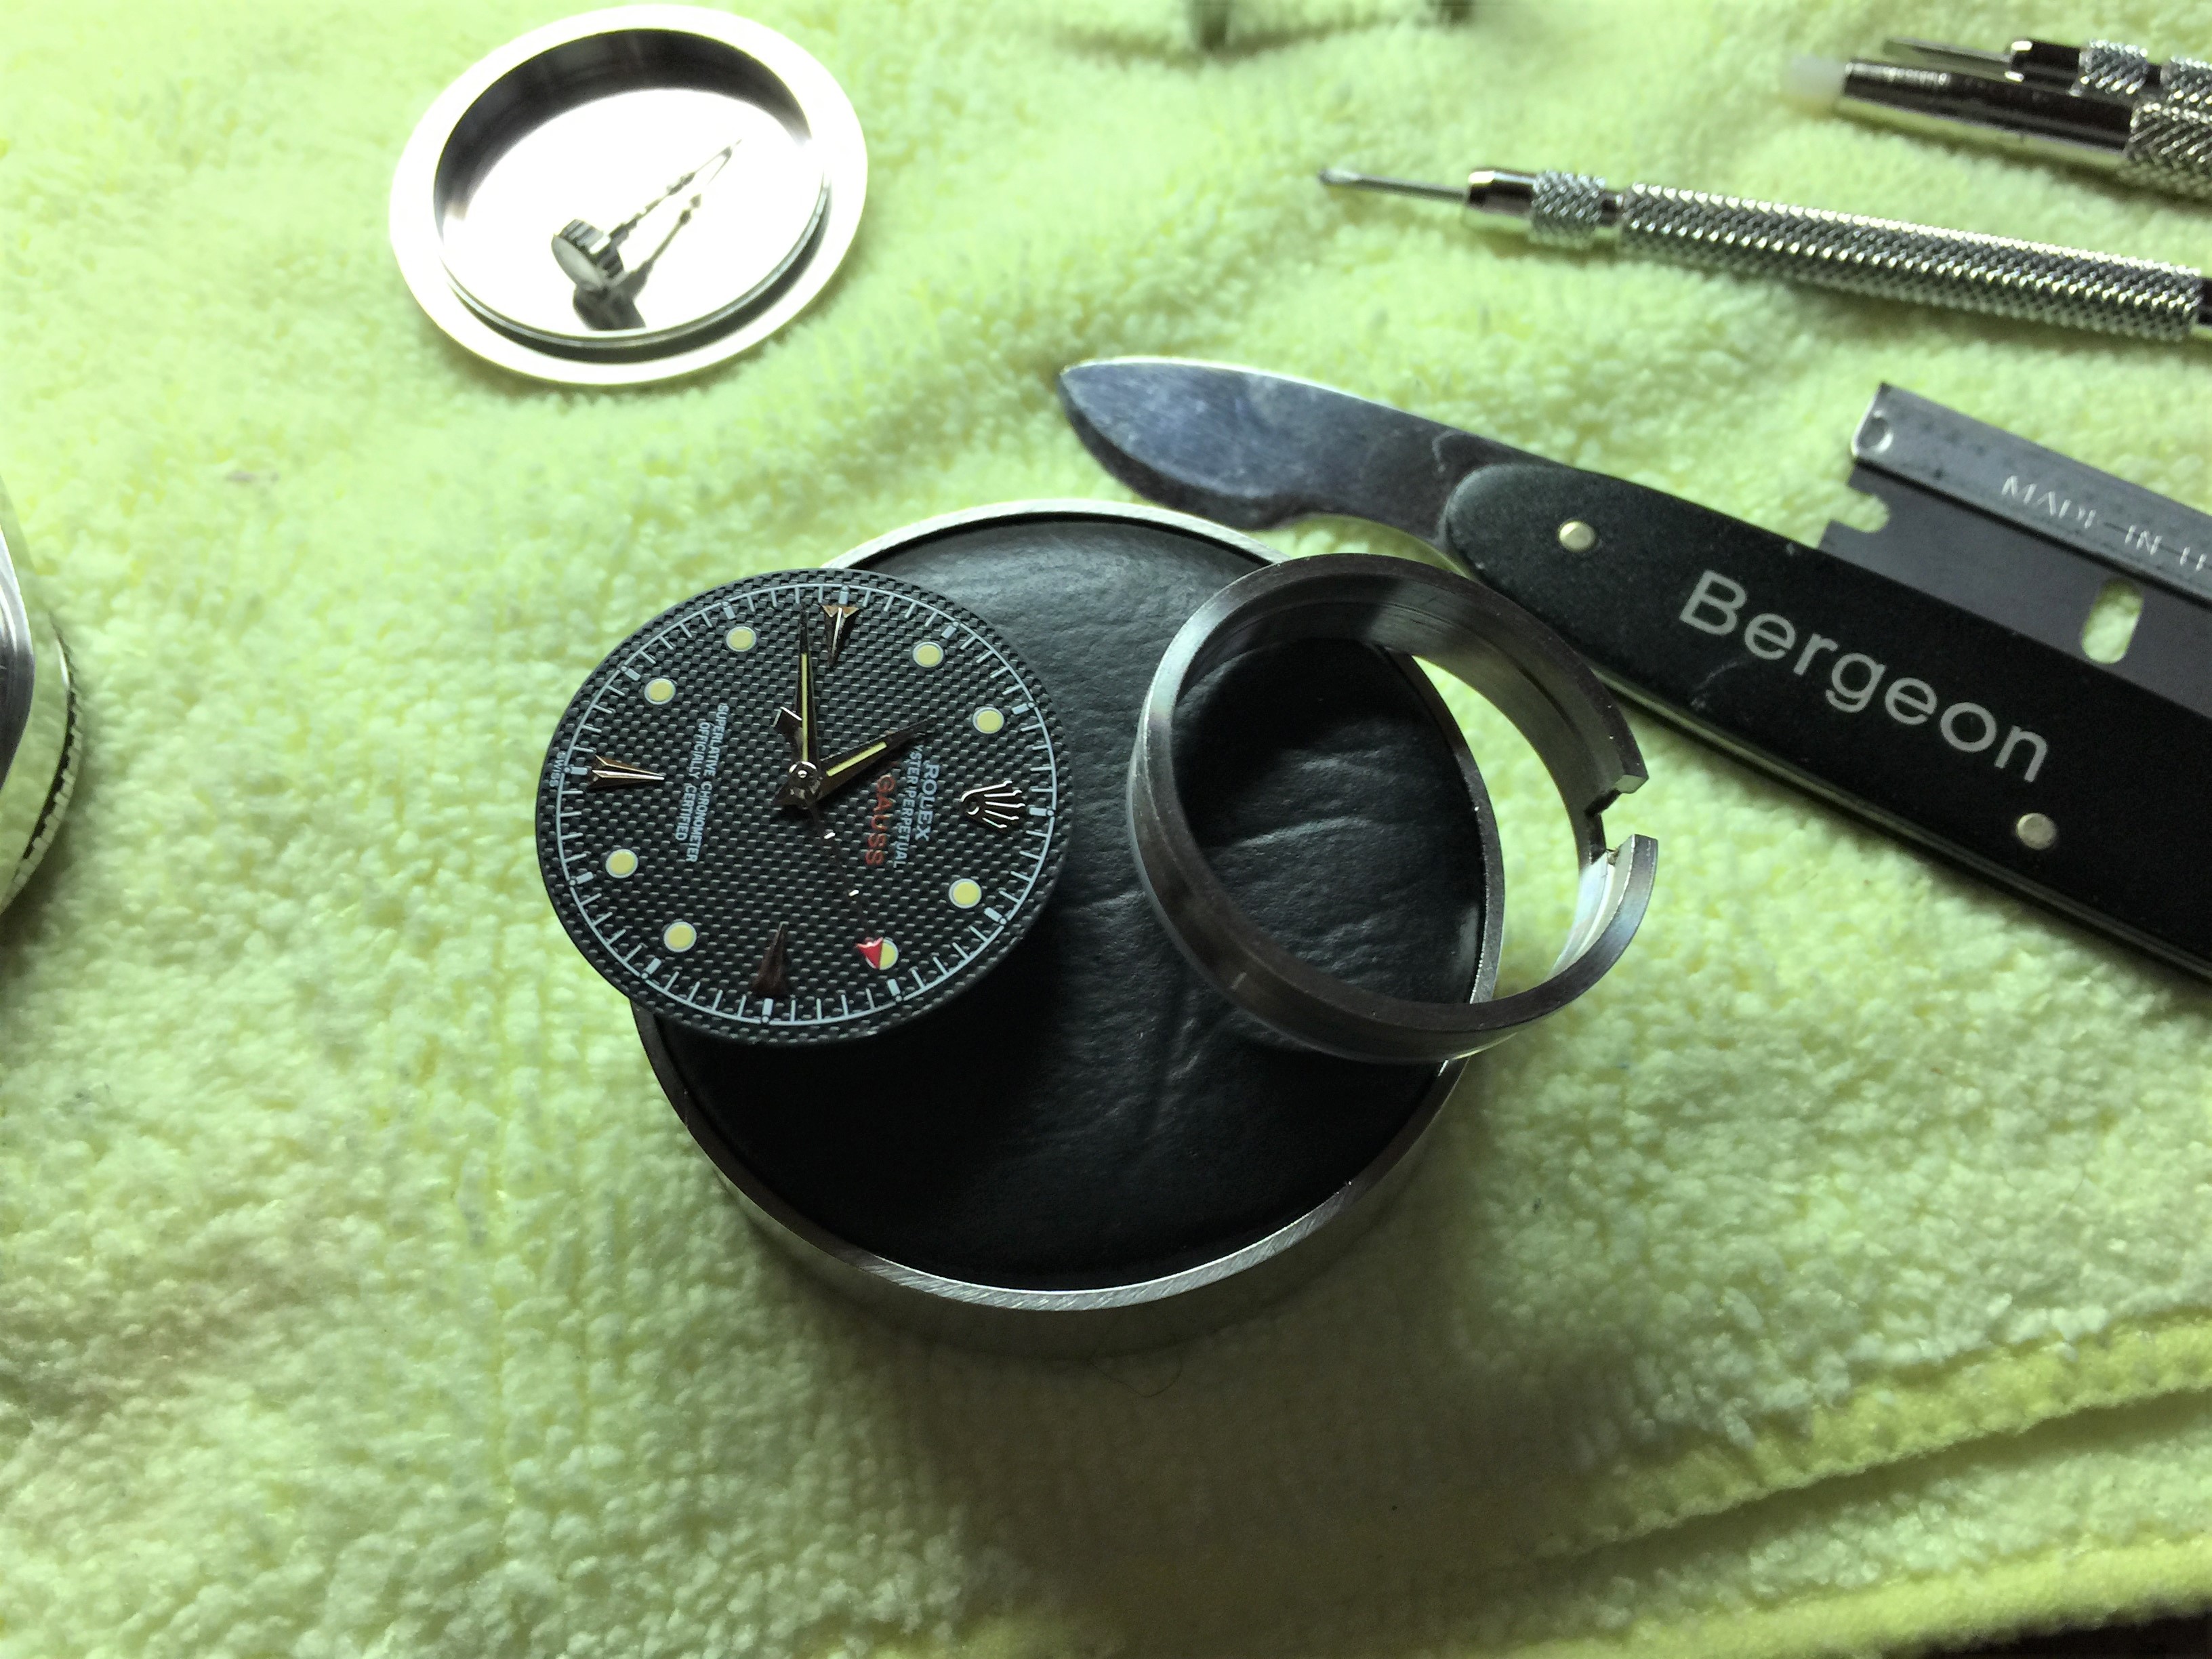
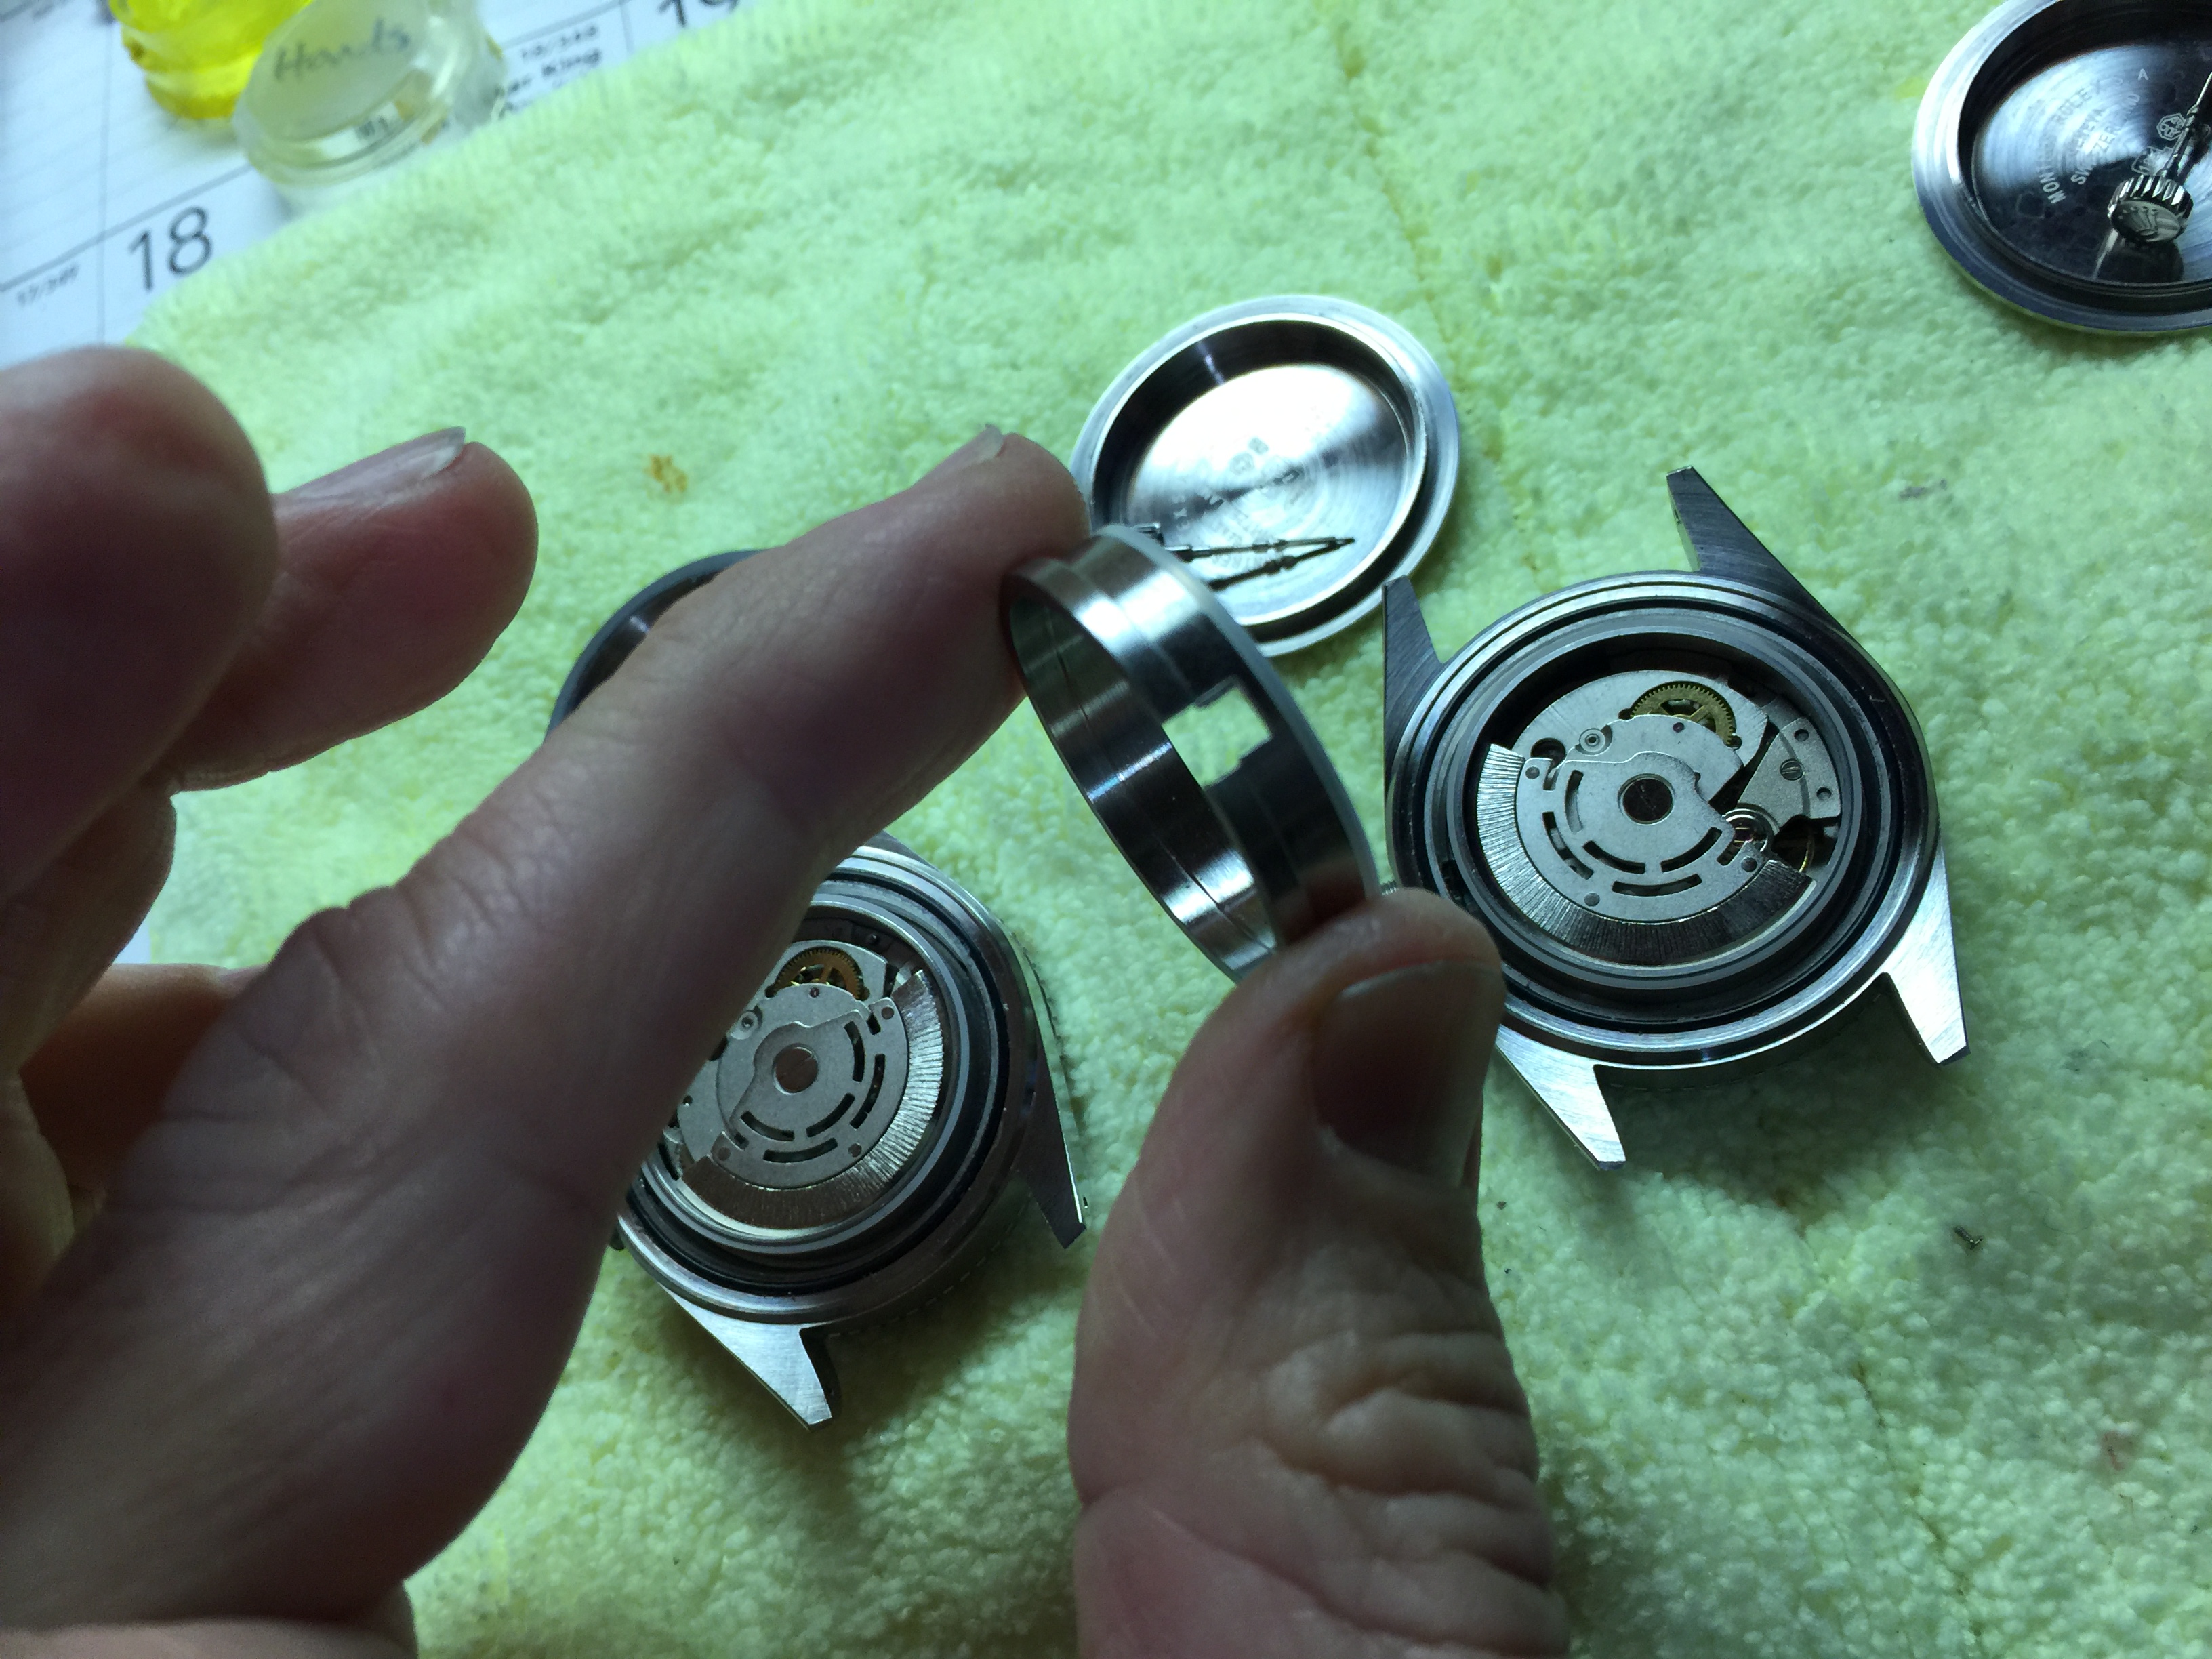
So we start taking them apart.


Interesting new spacer, haven't seen that before.
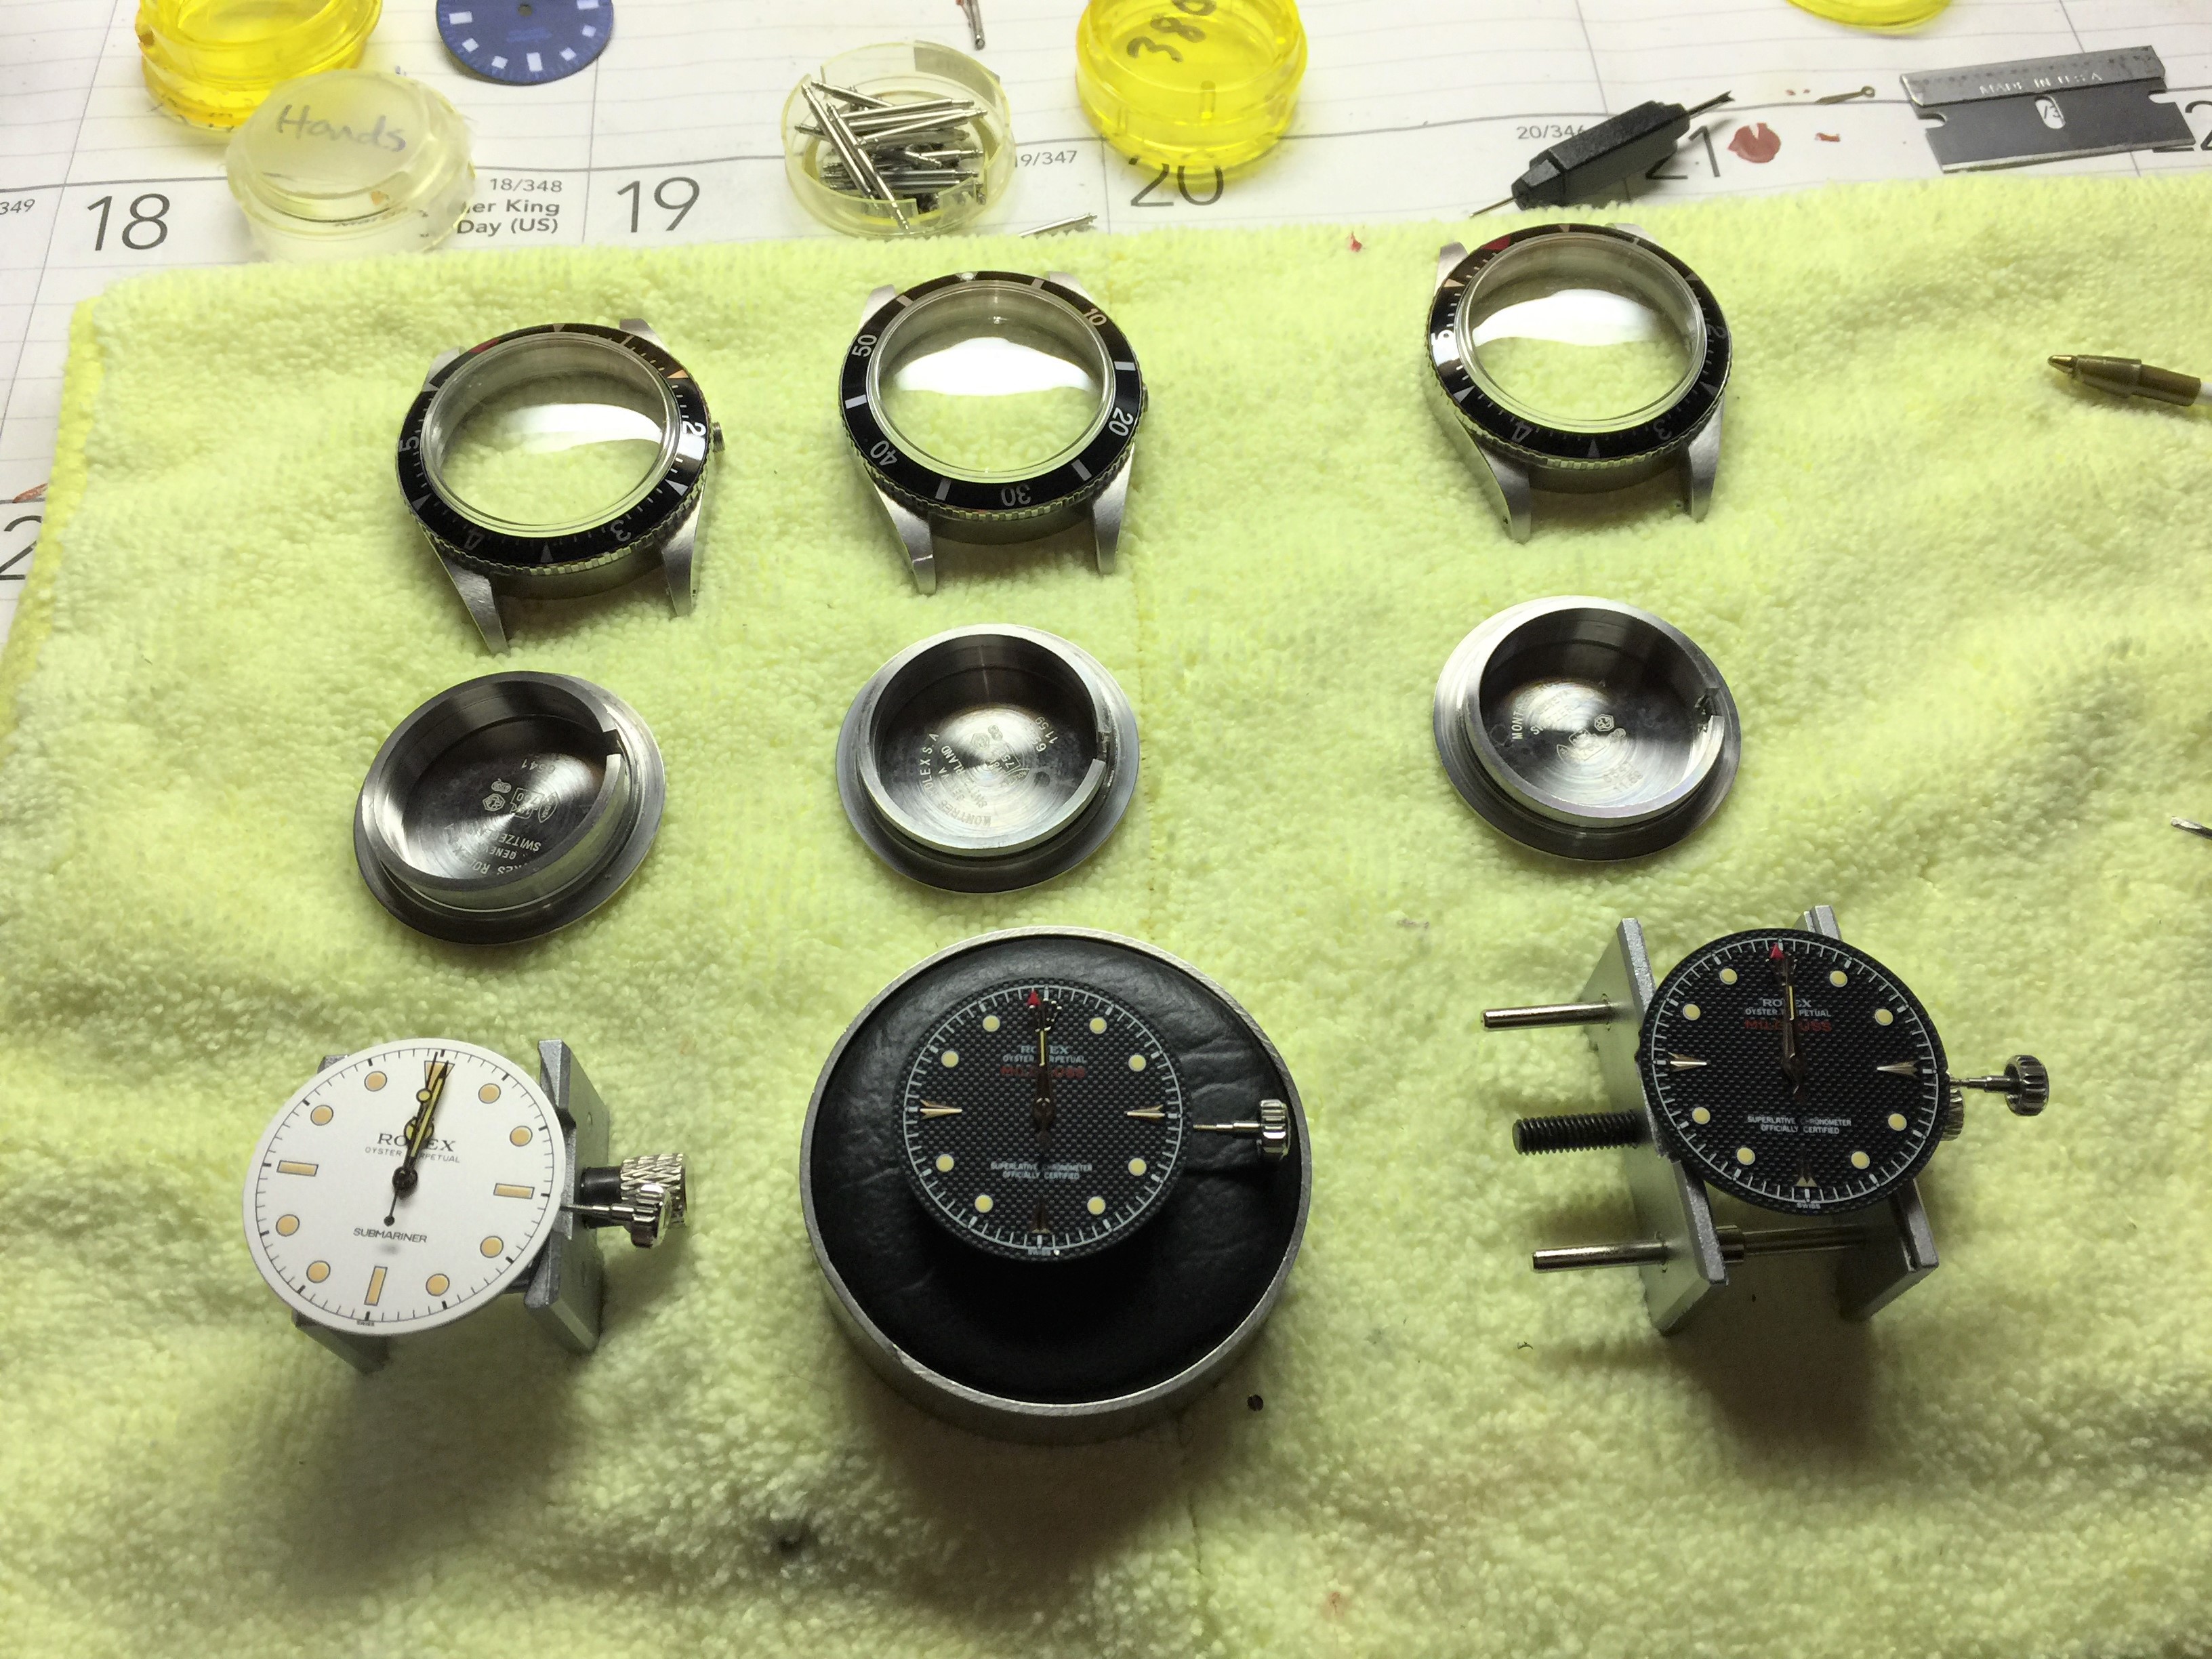
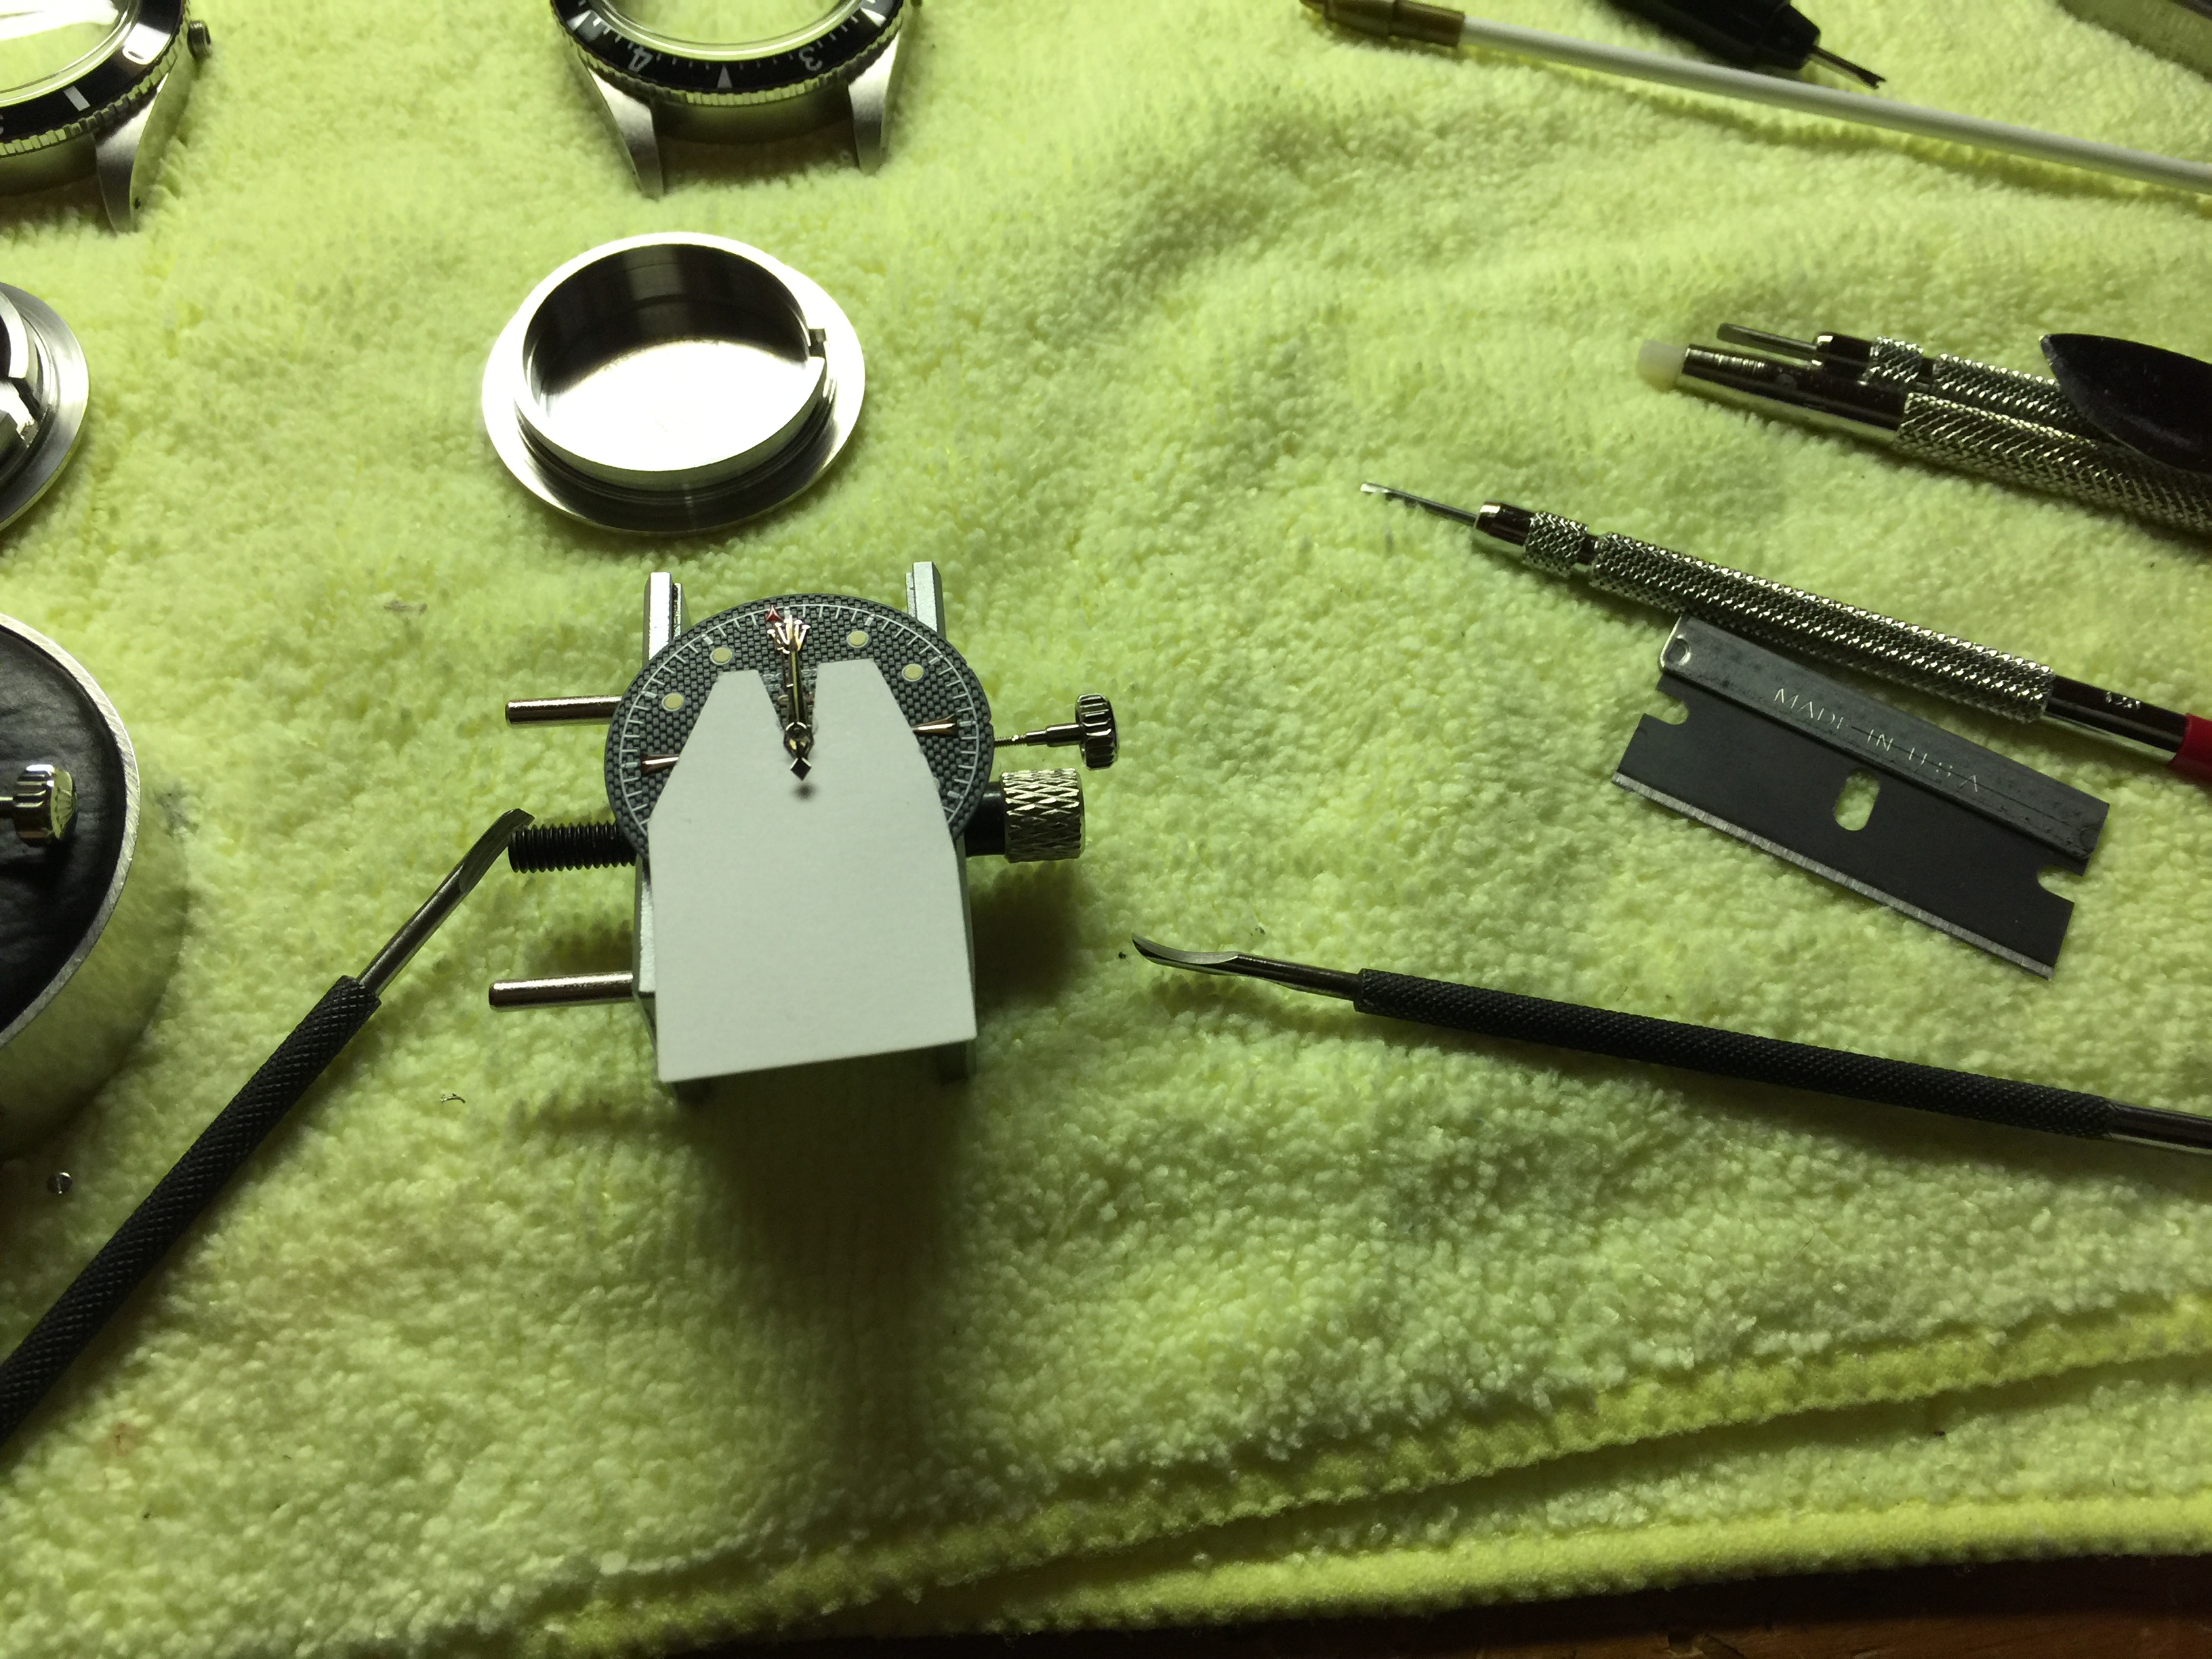


Dials and hands off


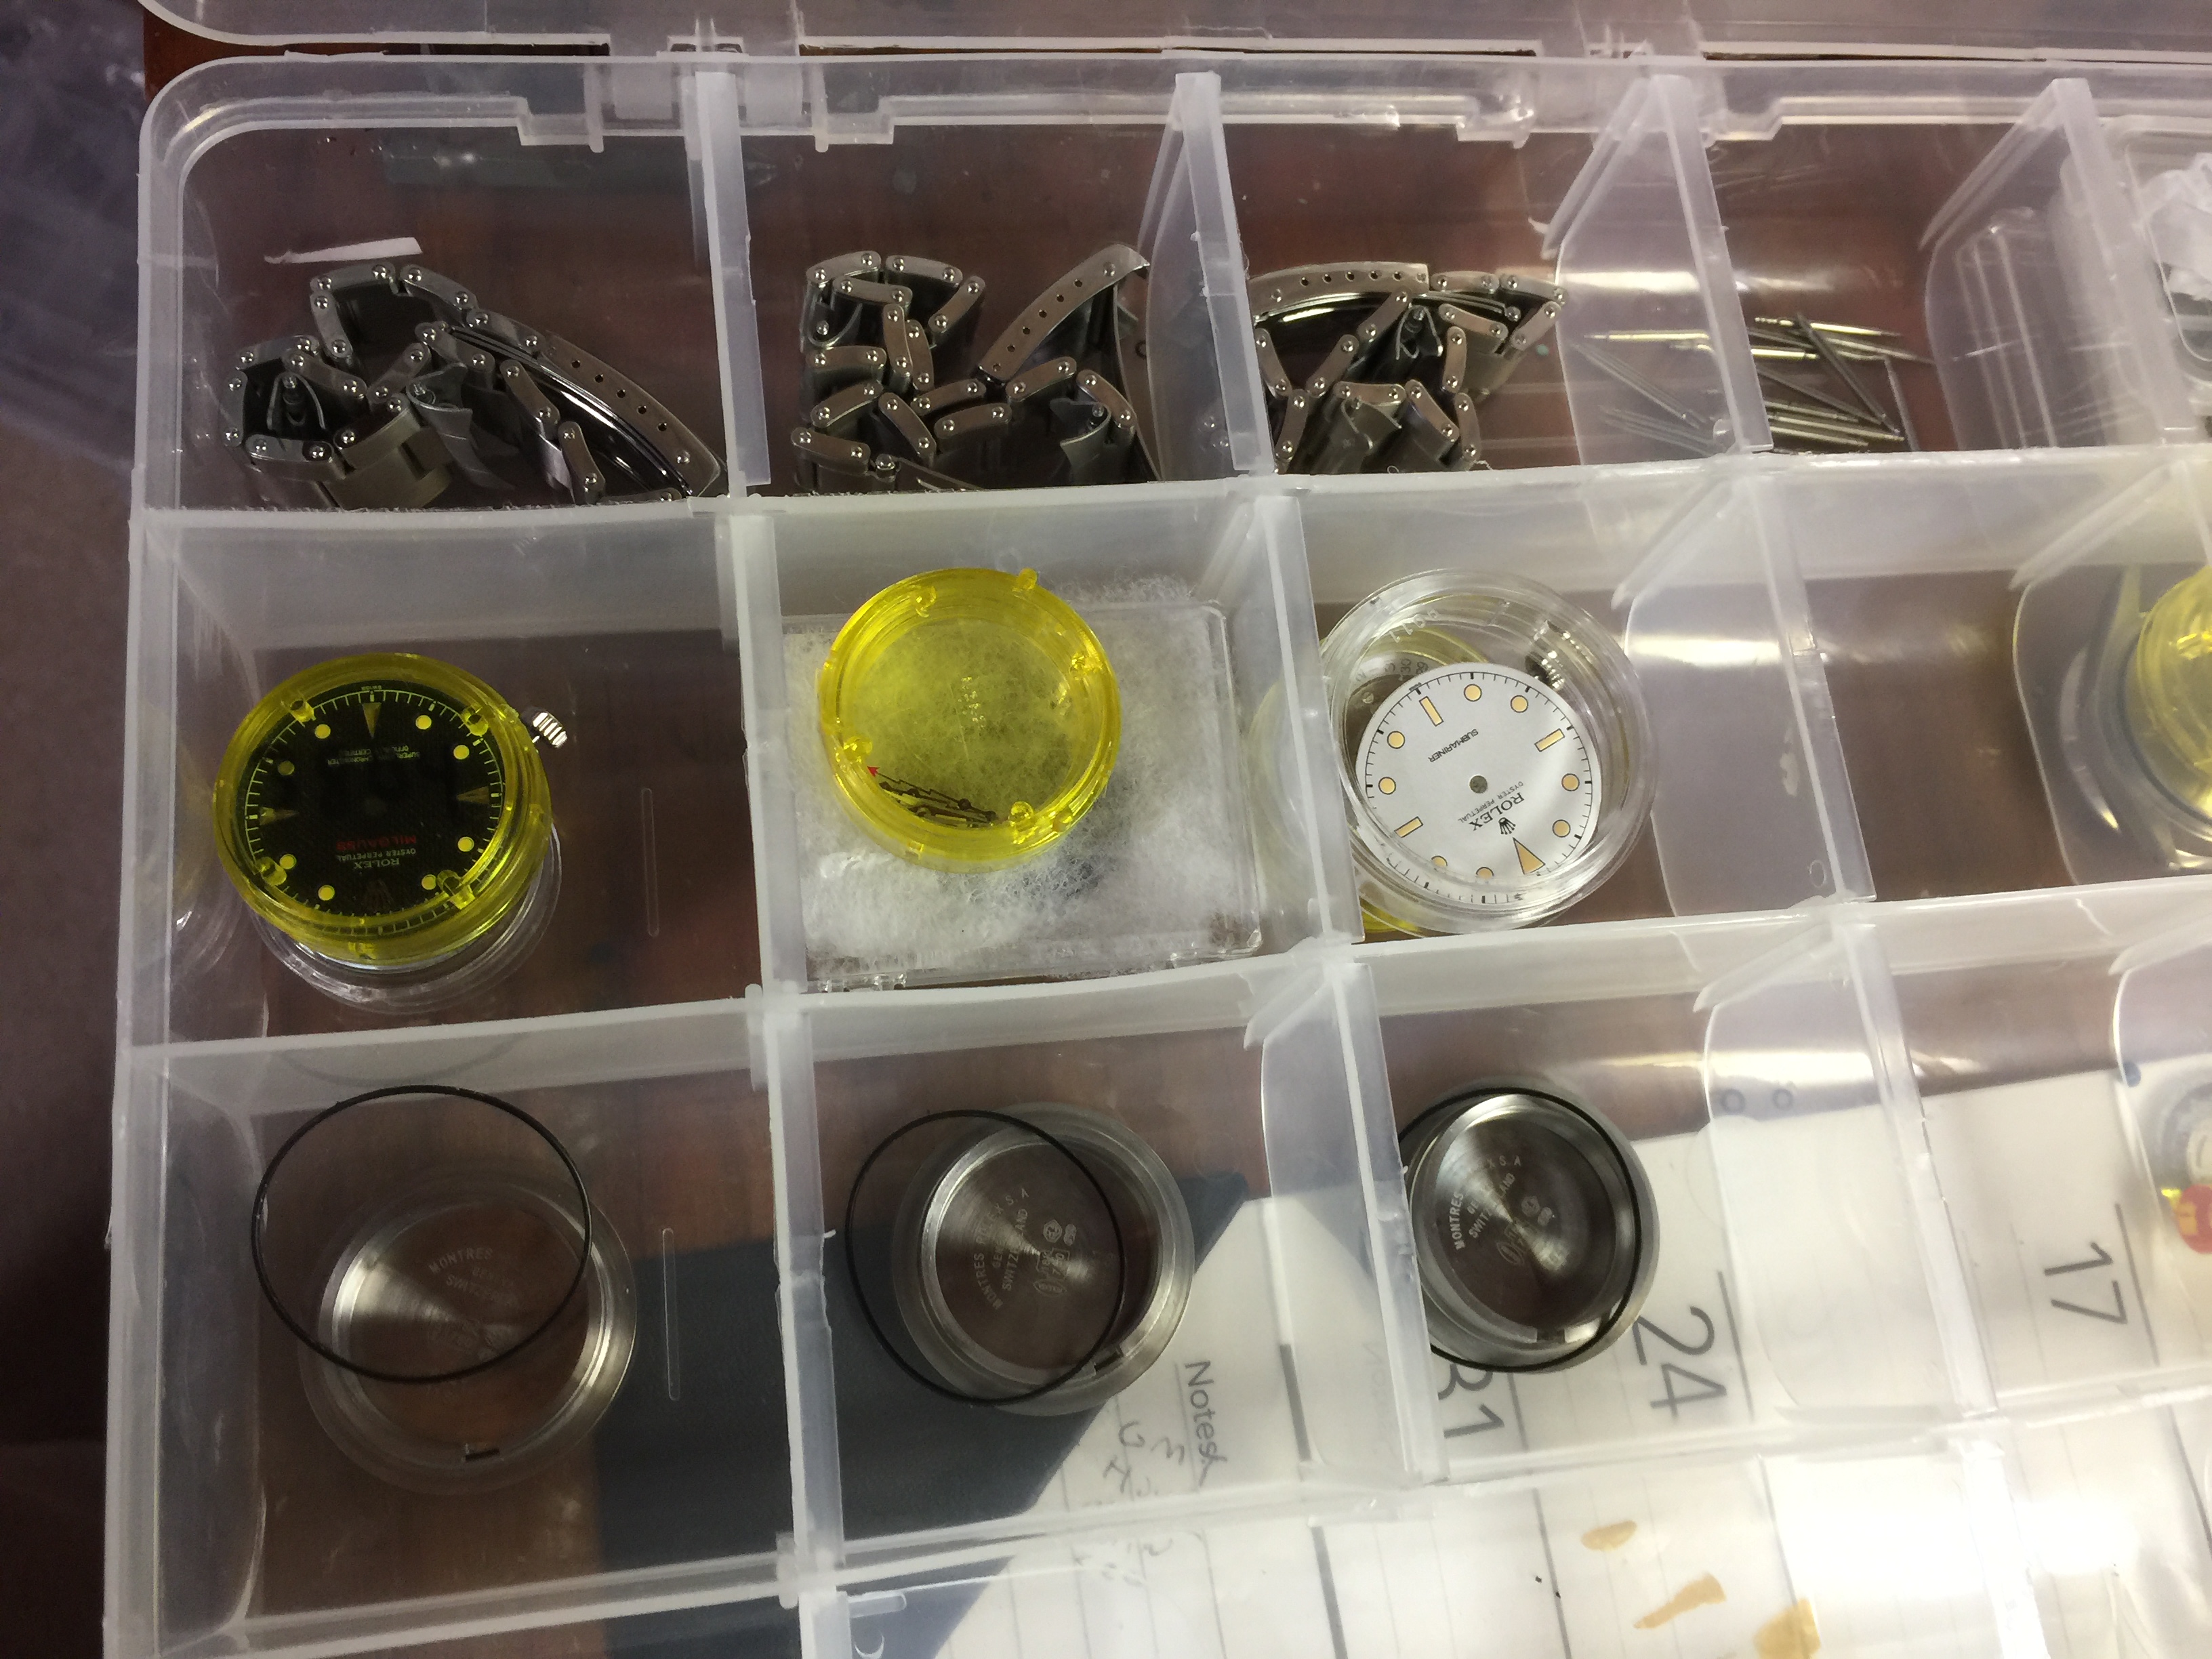
I use a dial protector and levers to remove the hands. Loosen the screws on the side of the movement that retain the dial feet. Pack everything neatly away.


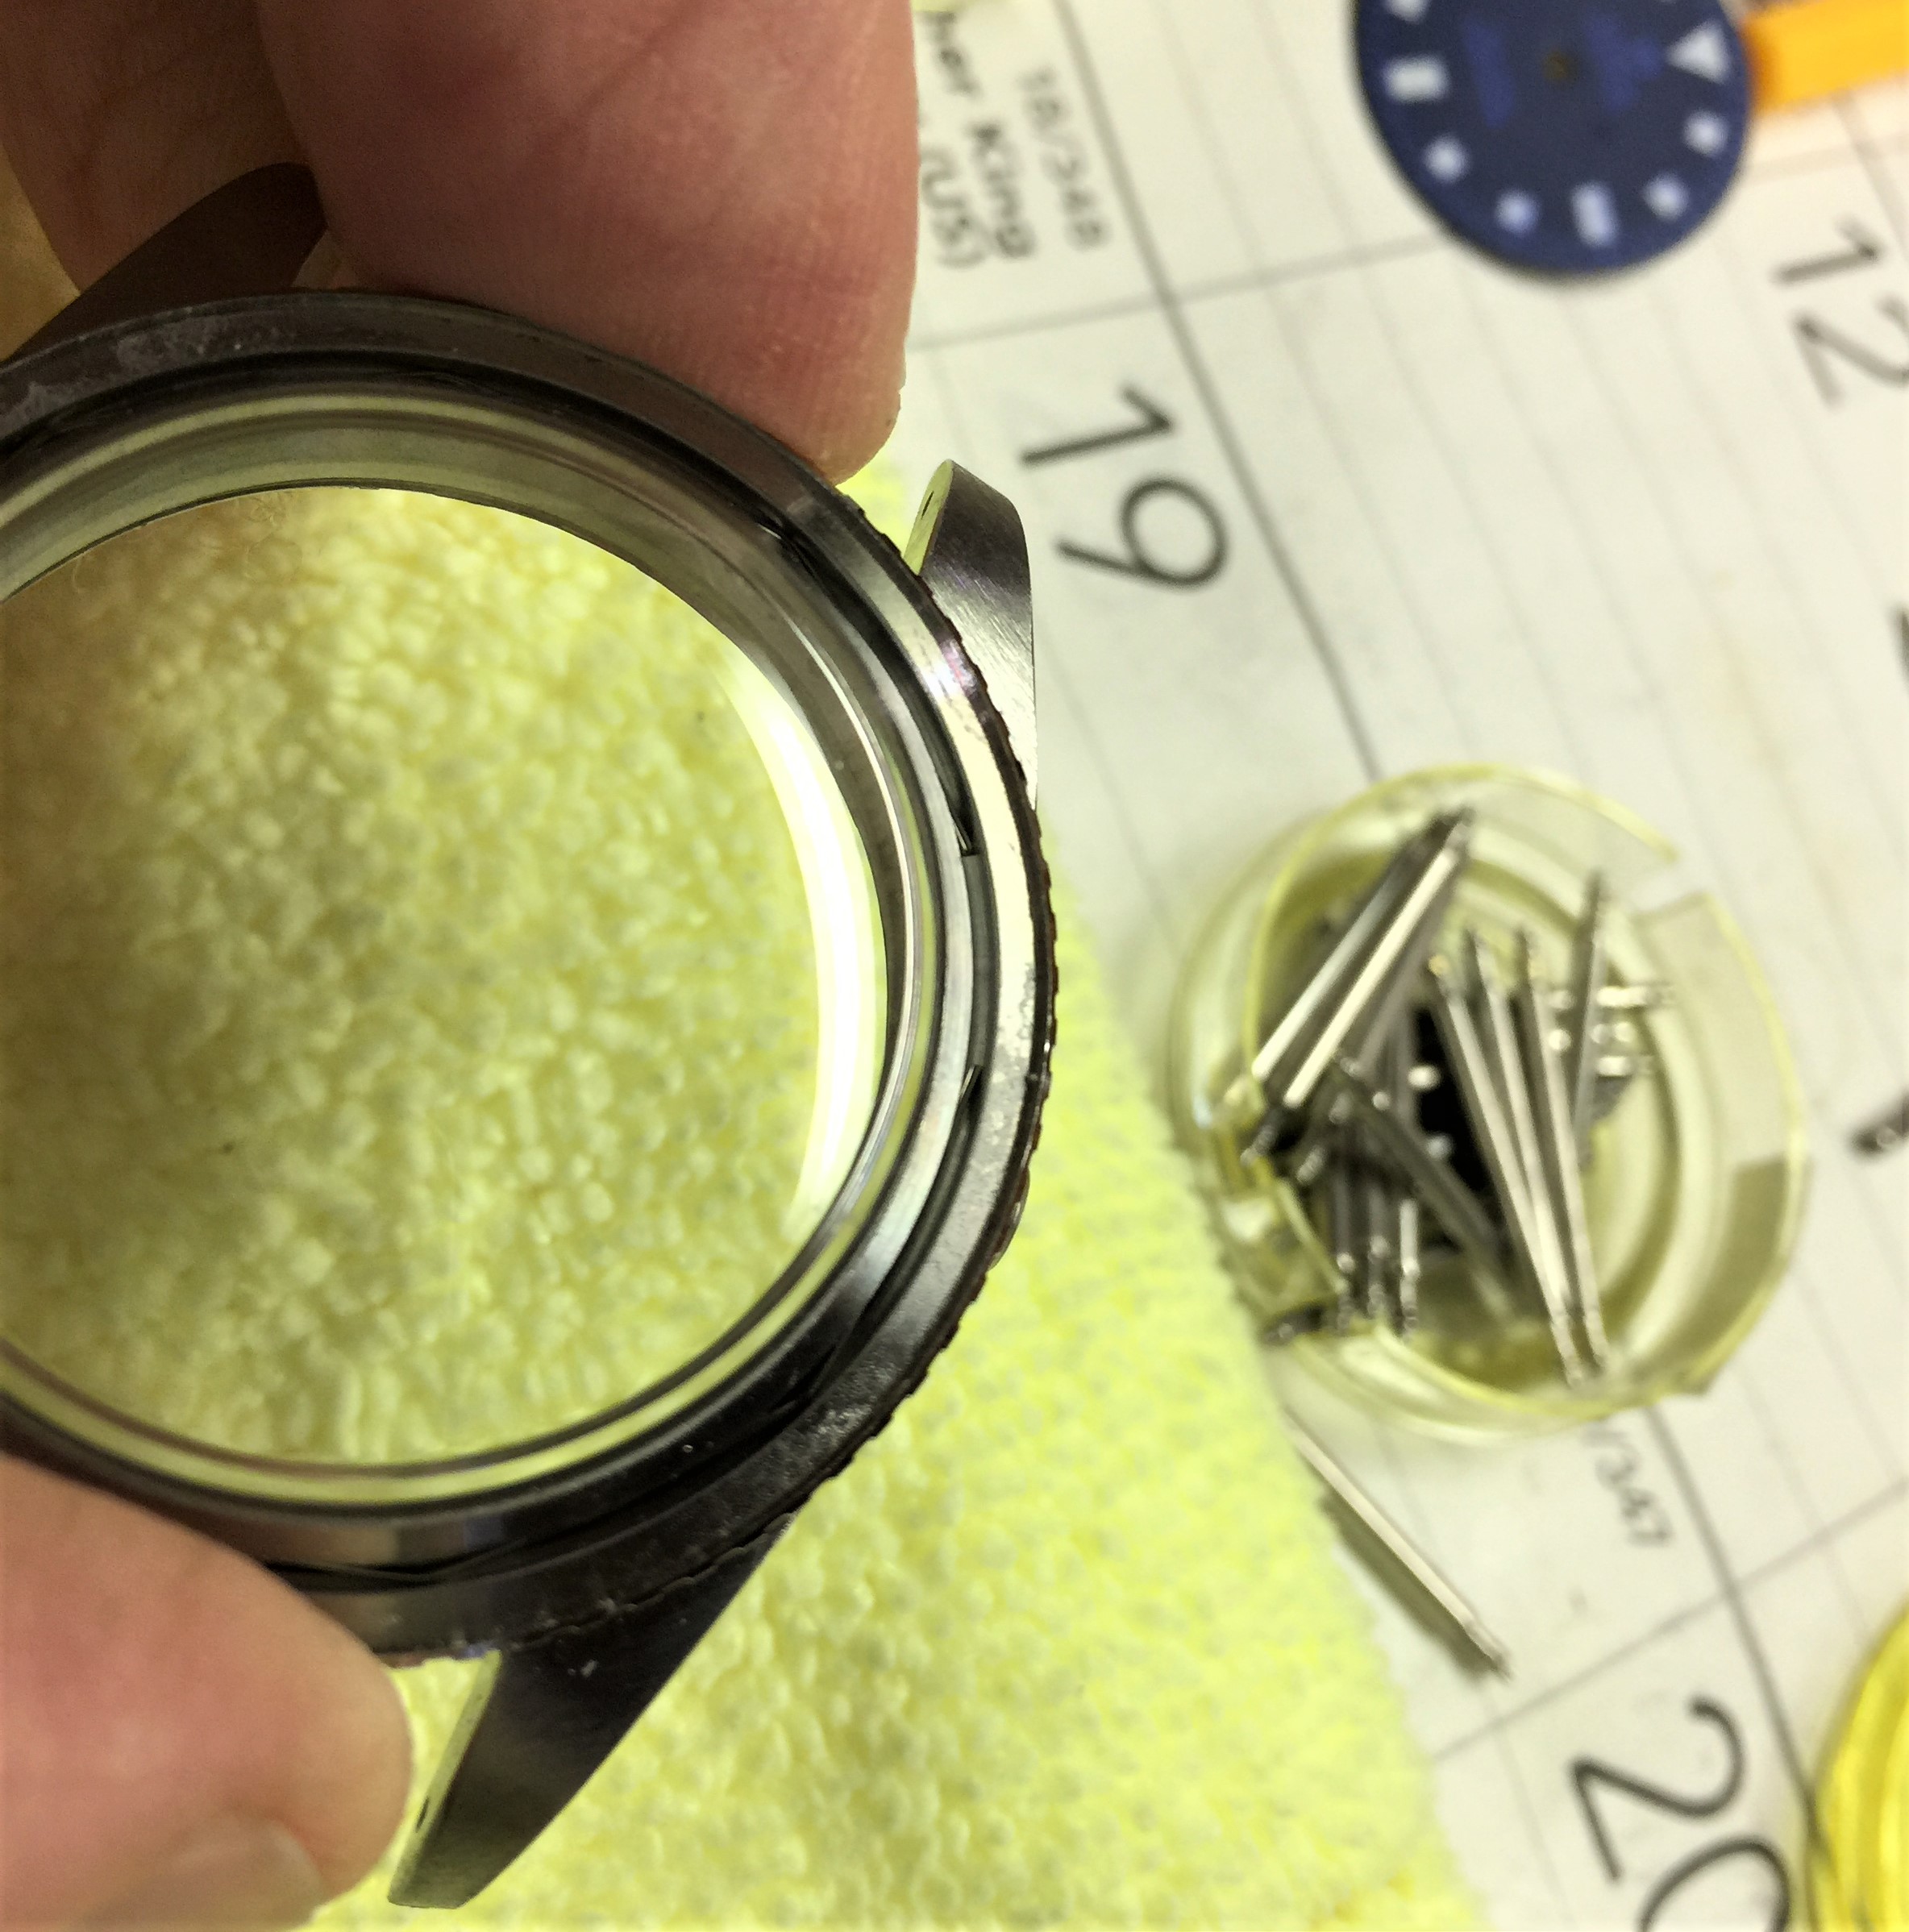
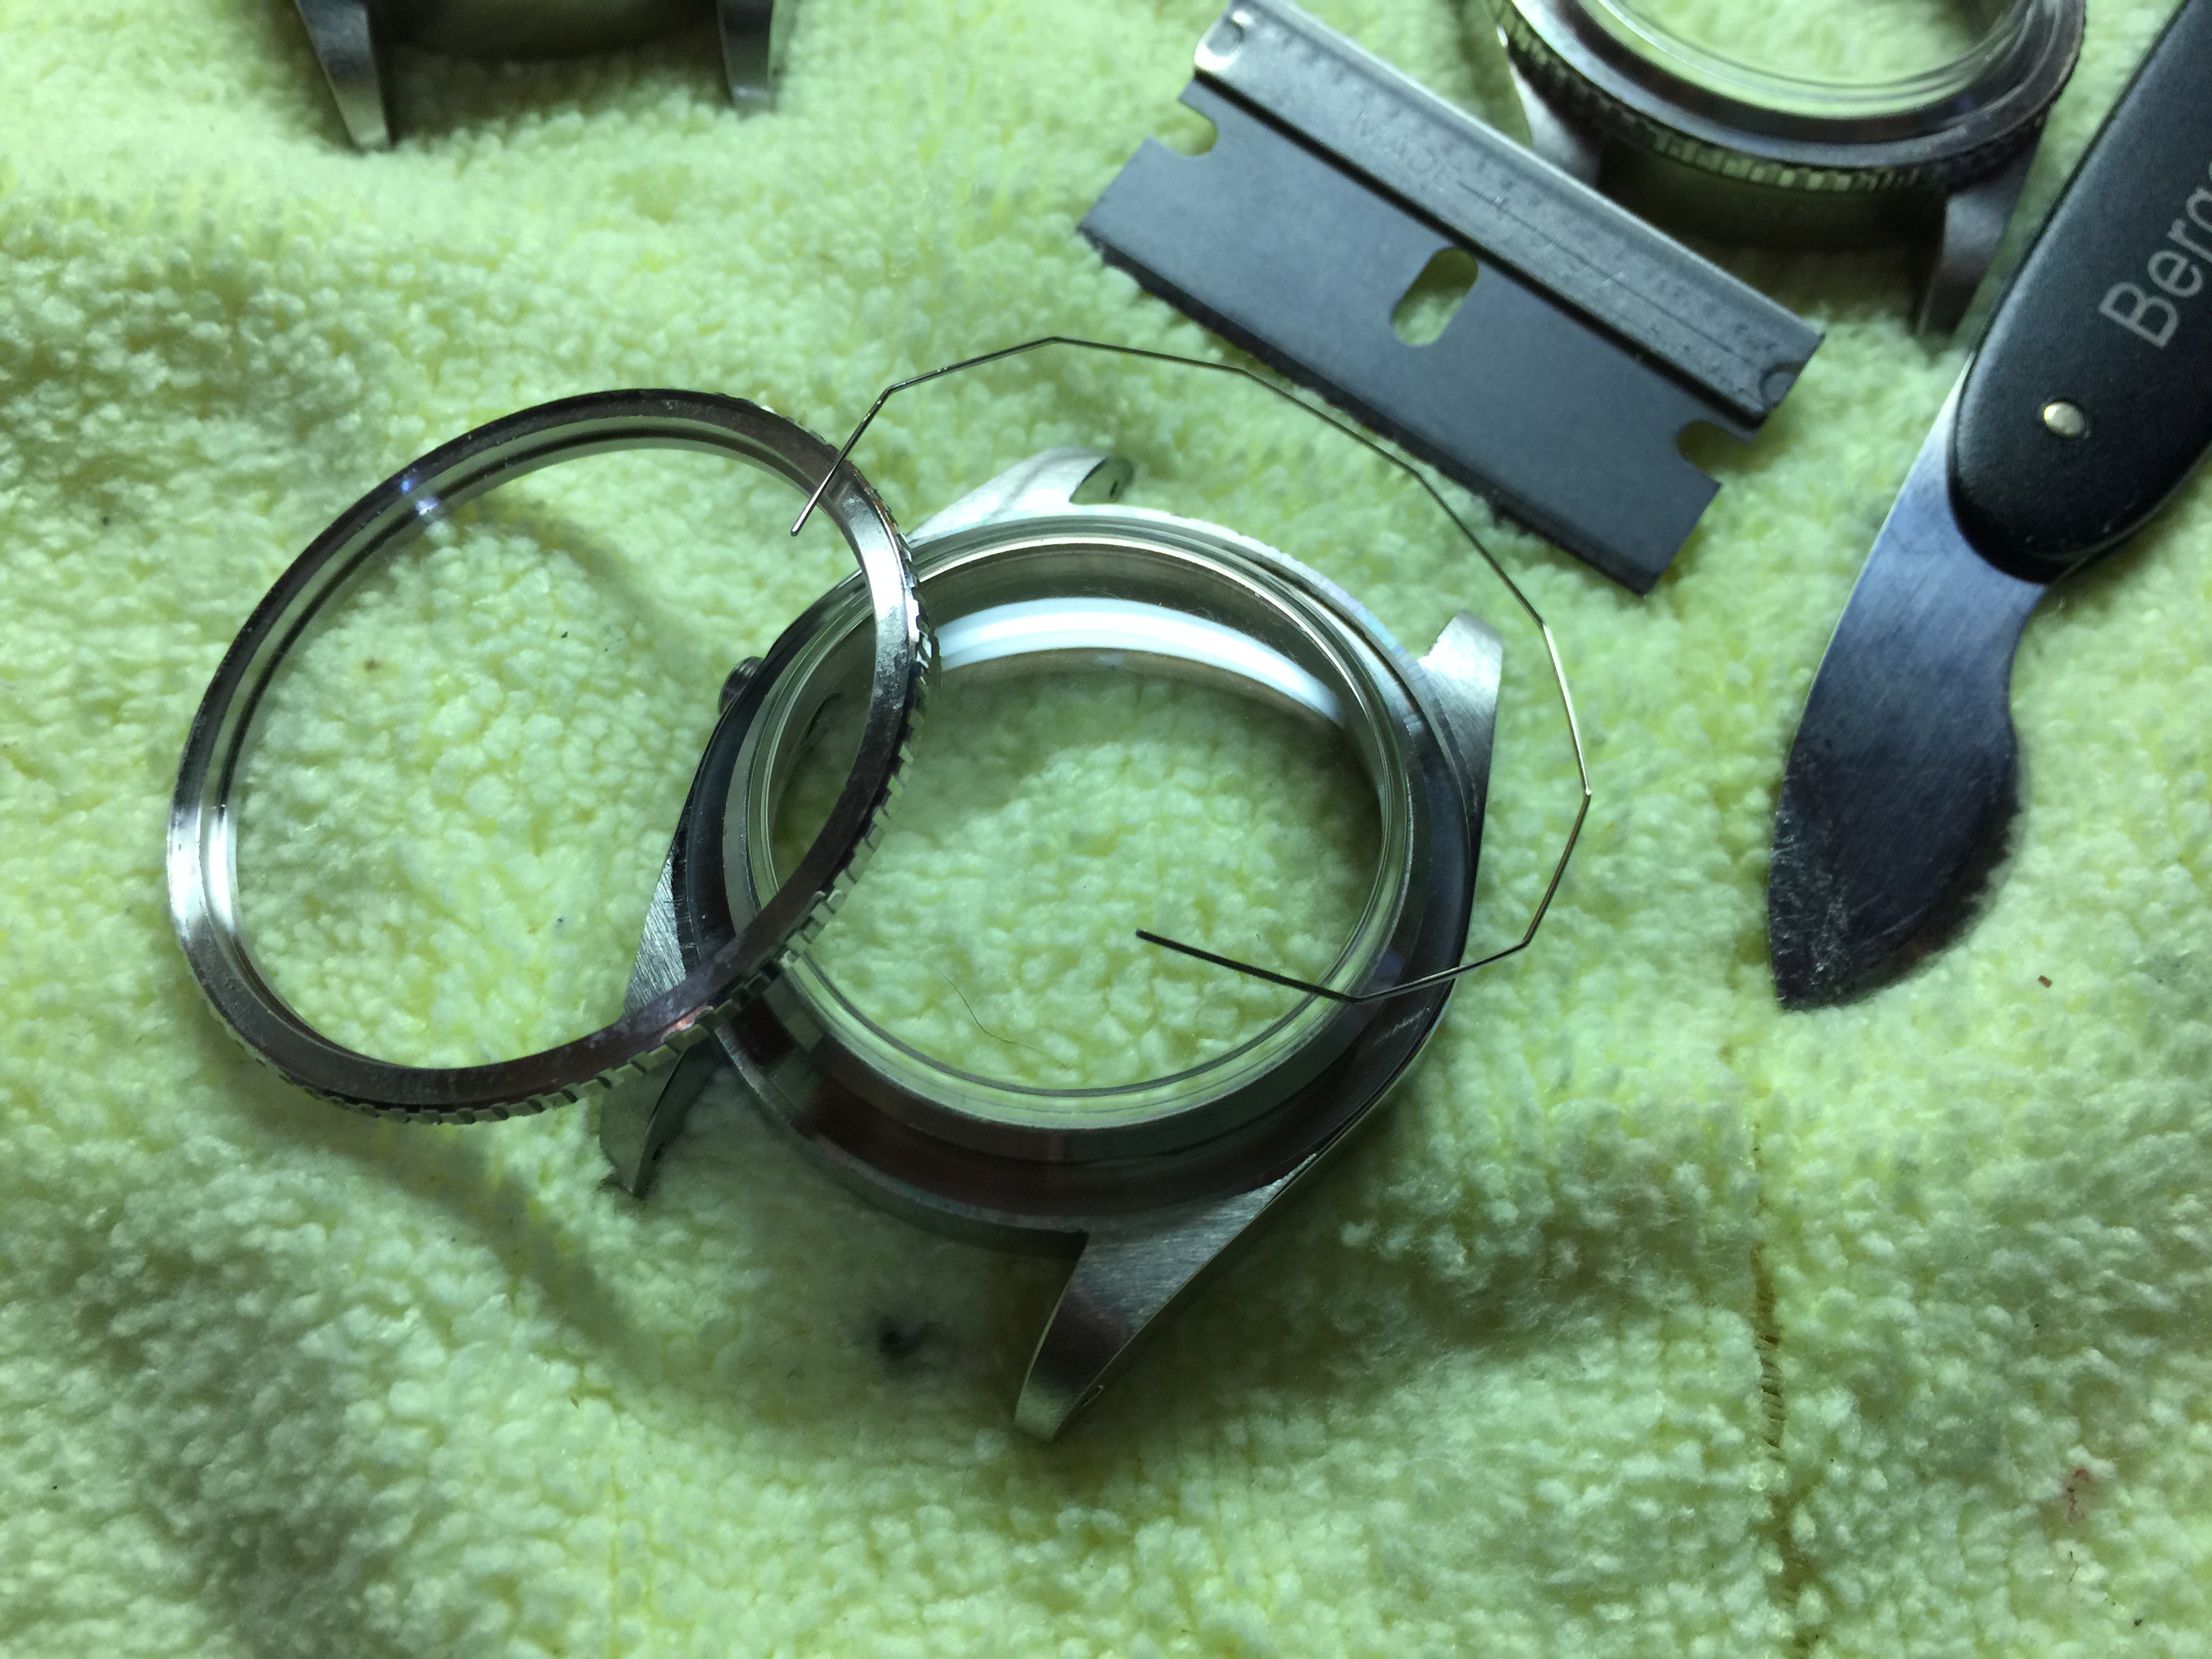
Need to remove the bezel insert, bezel, and plexi. The plexi on this is a space dome monstrosity that we won't reuse.


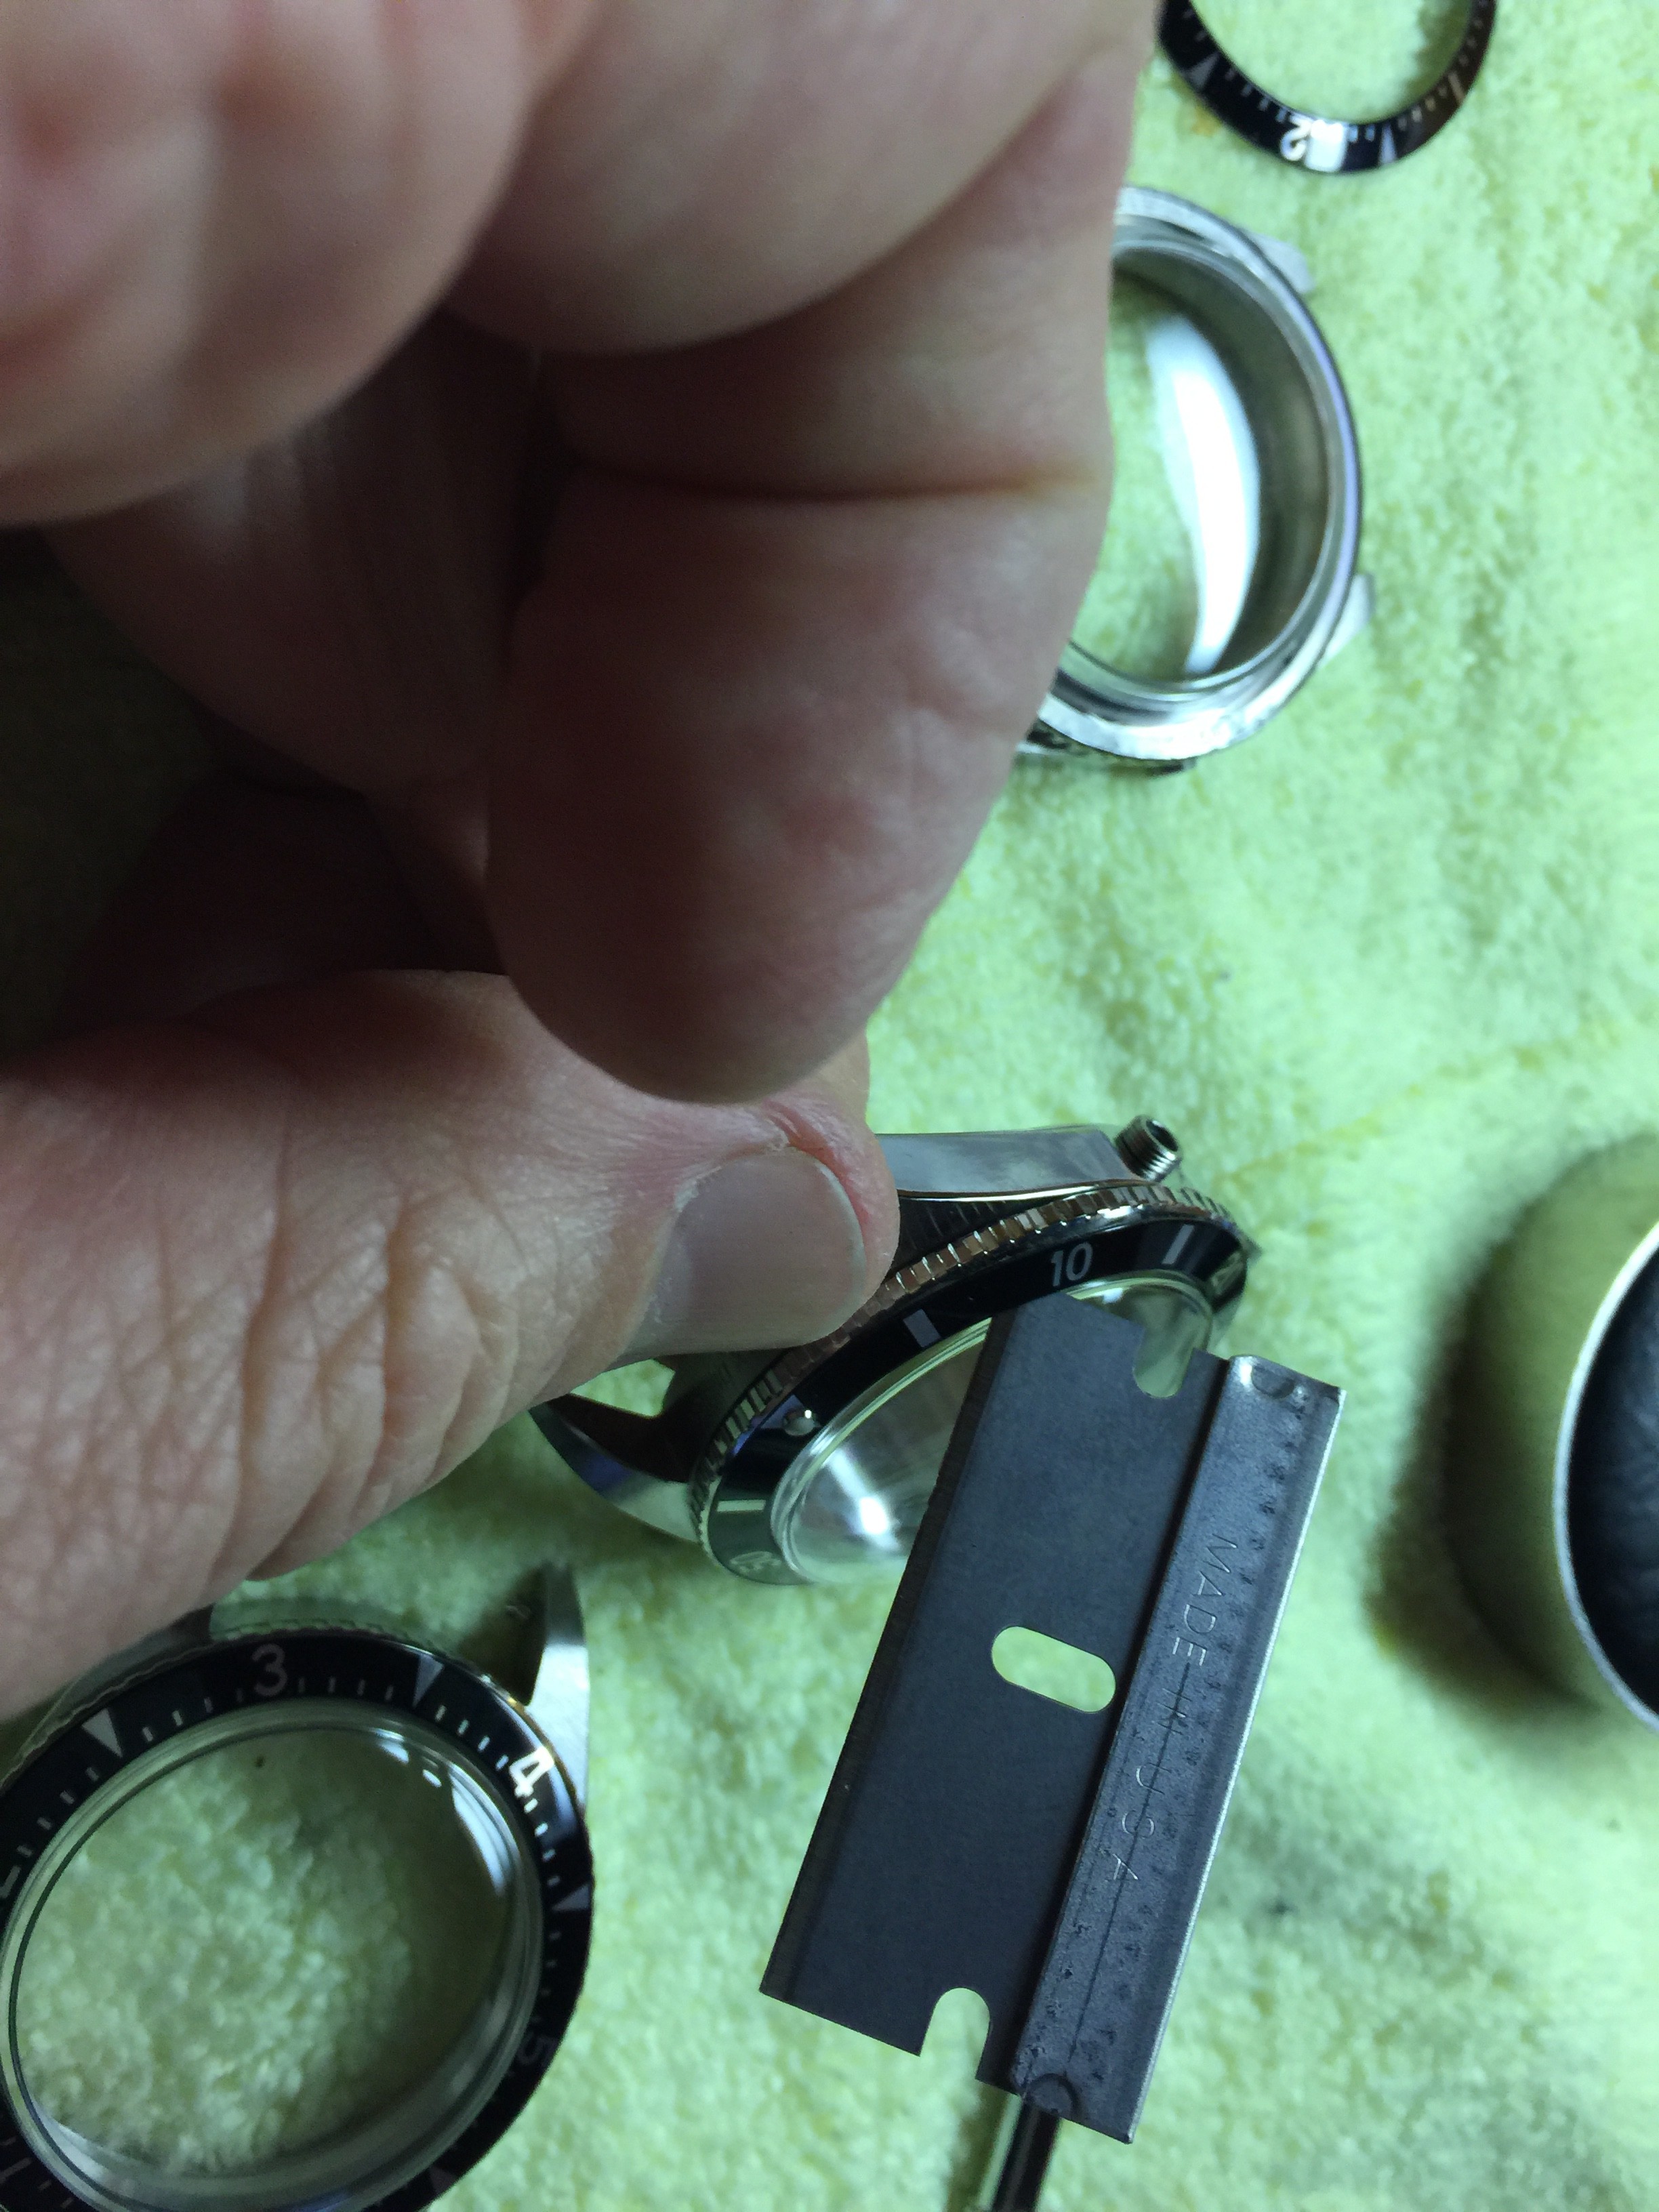
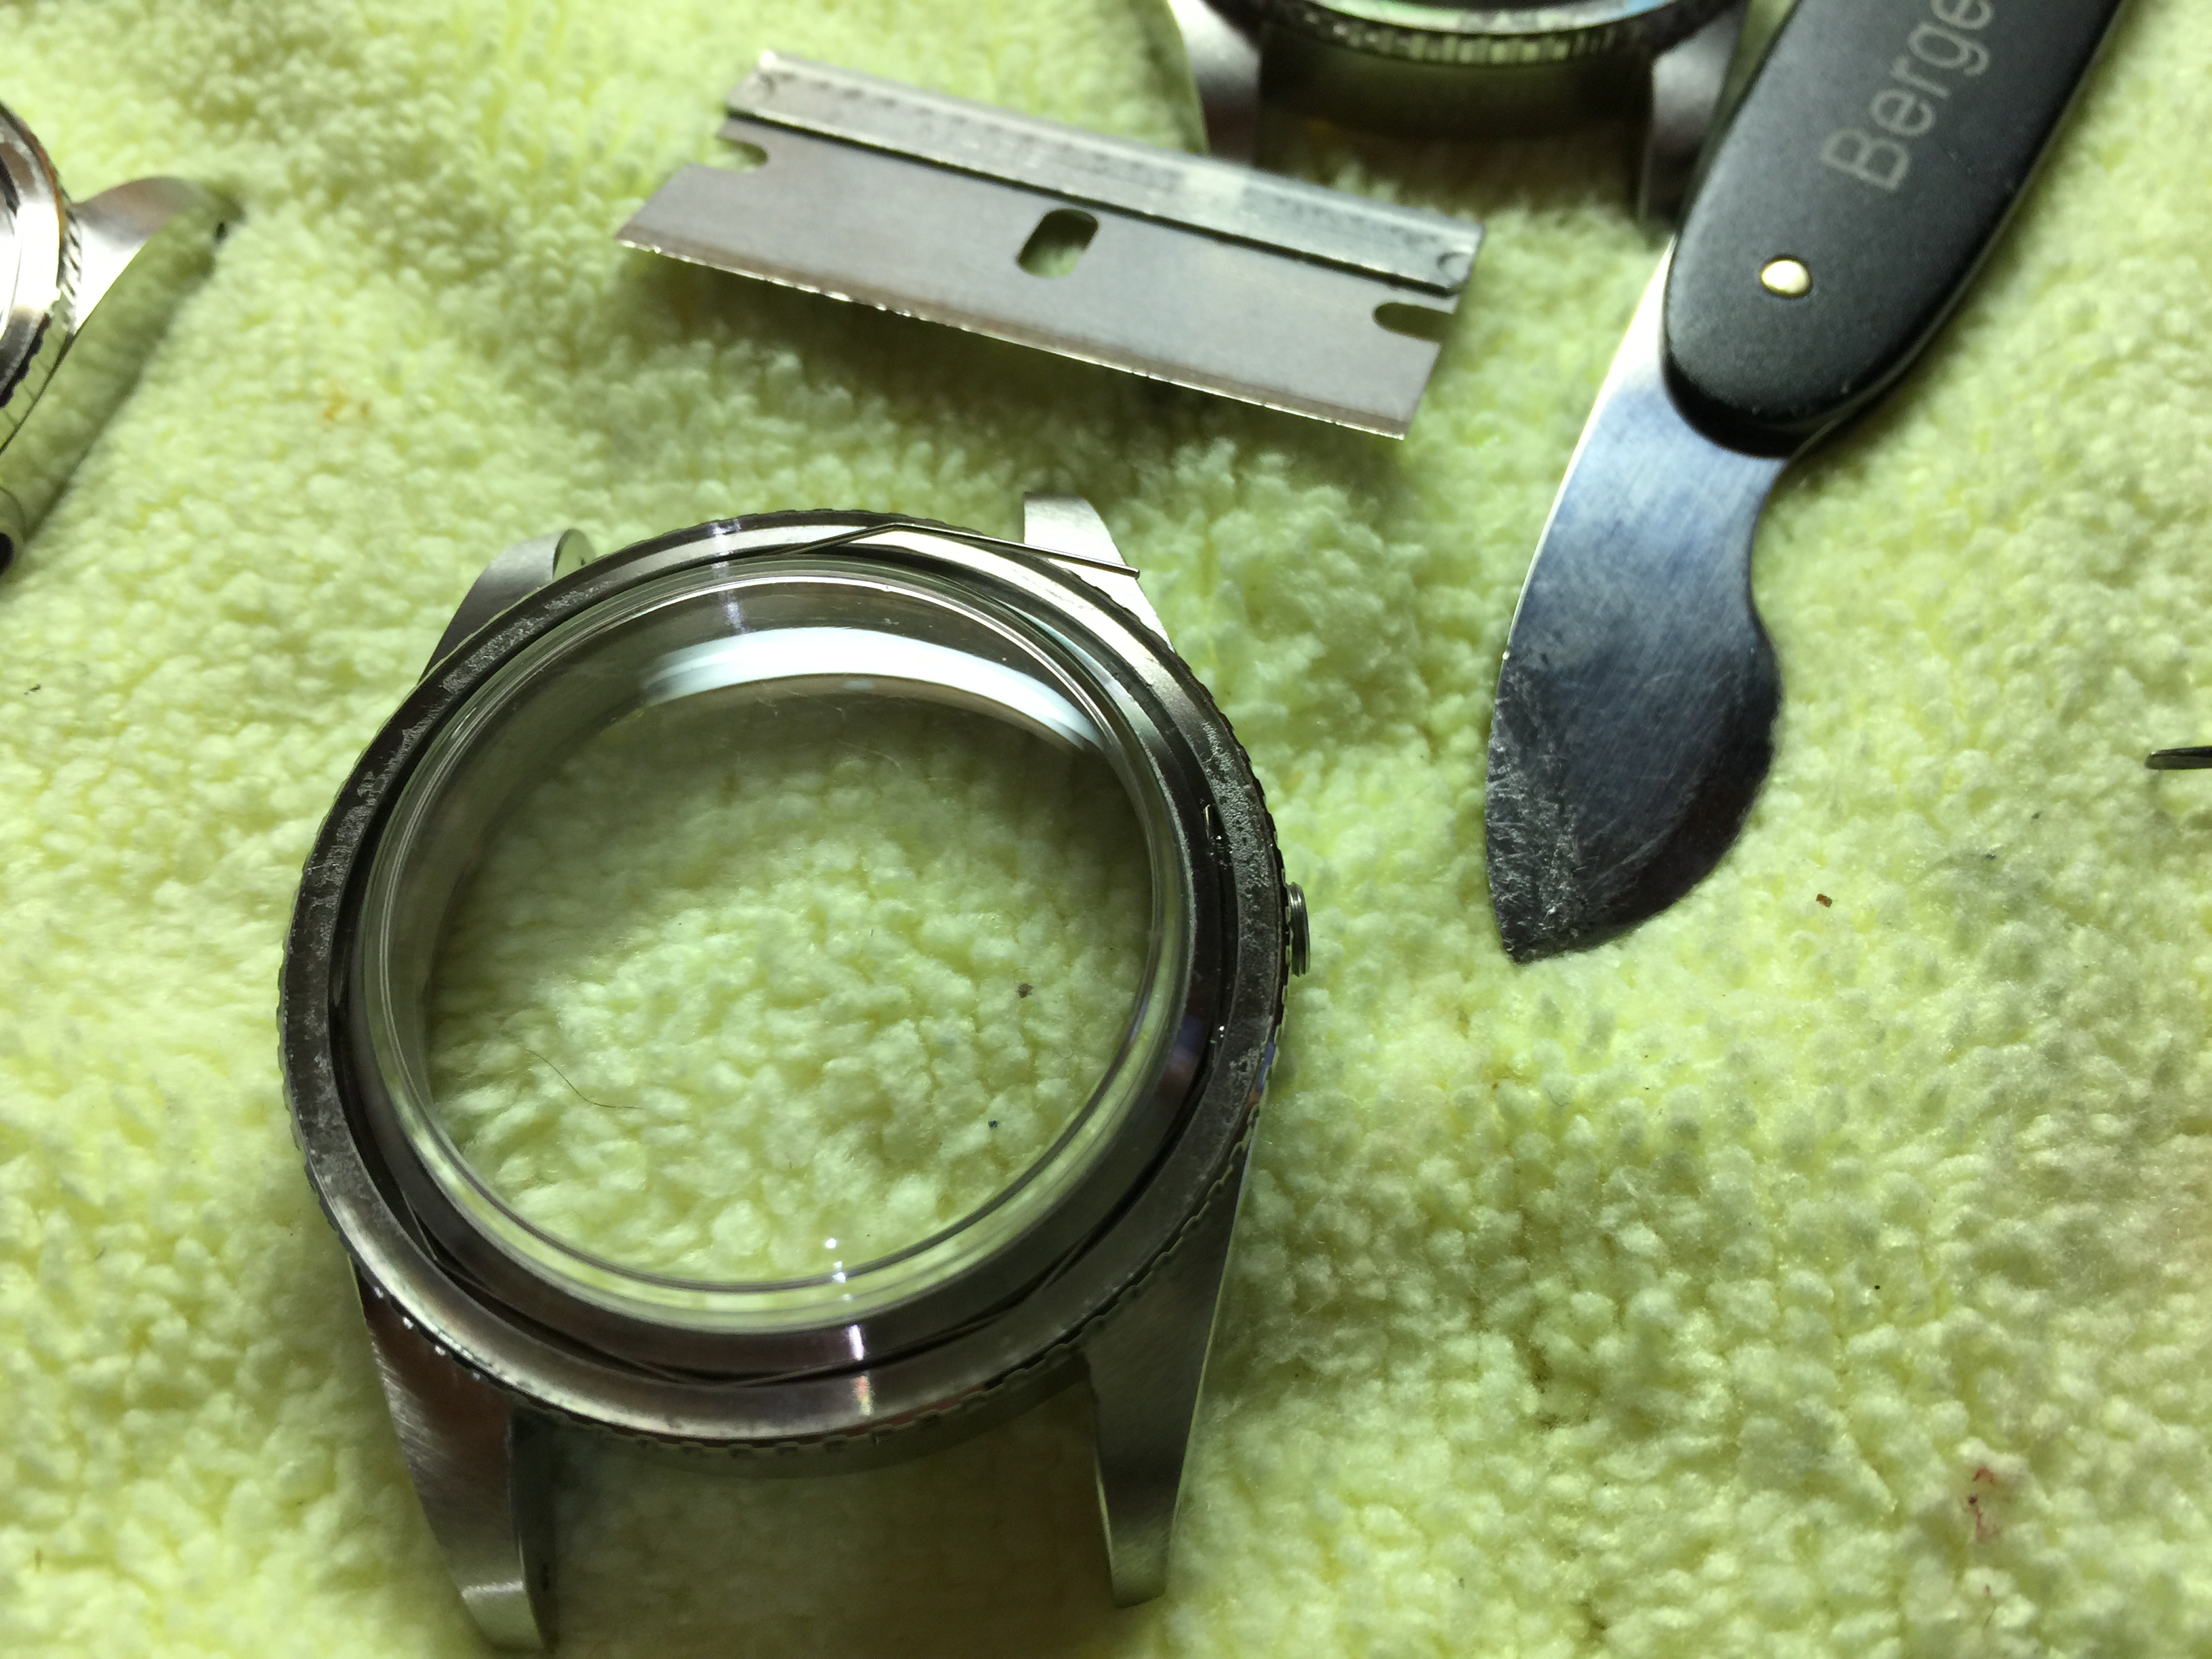
The bezel is held by a retaining spring. Using a small screwdriver I tease it out and the bezel just falls off.


  • Like
Reactions: Thrasher
OP
NCRich

NCRich

Content Contributor
Ambassador
Feb 4, 2018
643
1,981
143
OK a bit more. Need to remove the plexi. They really seem to glue these in well. I made a little jig to pop them out. Just a piece of PVC.


and out.


Now I need to drill the lugs to 1.3mm. Use cutting fluid to drill. Drill at low speed 700rpm or so. Use a good bit.


Now for the bezel. Bezel is really sharp. I sanded it to smooth the edges and then repolished it. You can brass the bezel with a torch. Just rotate it evenly through the flame, stop a bit before it looks quite brassy enough as it will carry over.


I cut some bevels on the cases with my dremel.


And sand and polish it up. Highest speed.


Inner edge is usually rough from drilling. Smooth with file.


I faded the inserts with bleach. You have to be extremely careful. The 6204 insert would NOT fade. Had to sand it. The milgauss faded in 45 to 60 seconds. Would have ruined in 2 minutes.


OP
NCRich

NCRich

Content Contributor
Ambassador
Feb 4, 2018
643
1,981
143
So to continue, I strip the existing lume from the hands with acetone.


I aged the hands by rubbing them on a manicure sanding pad. Great tool. Put aside till lume time.


I lightly sprayed both dials with this.


Then I used an aging kit on the 6204 dial and resprayed to seal it in.


To lume I use a water based lume with a white glue binder and a water color set.


I suck at straight lines so I tape it off.


Milgauss only has circles so that is easier.


I do the hands at the same time, lumed dials.


Lumed dials with hands reset


  • Like
Reactions: Thrasher
OP
NCRich

NCRich

Content Contributor
Ambassador
Feb 4, 2018
643
1,981
143
So the pearls suck obviously on these. To make these better I dig out the plastic they use with a razor blade and apply a drop of lume in the well, then put a drop of epoxy on top of that. Poof.......vintage pearl.


So let's move to the cases and finish these. I've sanded and polished all the edges so the cases are smooth and feel 1000% times better. I'm going to put Clark Tropic 21 plexis in these. You can glue these in with hypo cement, but I've superglued these in. They won't leak this way, but you have to leave them to dry a couple days with the plexi down or the off gassing will fog the plexis.


Time to assemble


Put the movement in with the spacer and grease the seals with silicon grease. Put the backs on.


Looking like a watch.


Put on the bezels and insert. Just feed the retaining wire back into the groove.


Apply the insert with double stick tape.


Going to use gen spec spring bars from Cousins.


But the bracelet and end links have to be modified. 2mm hex driver will do the trick.


End links have to be clipped with dremel cutting disc. You can't ream these out to fit. Just not enough stuff there. They still work fine.


  • Like
Reactions: Thrasher
OP
NCRich

NCRich

Content Contributor
Ambassador
Feb 4, 2018
643
1,981
143
So now, the completed shots.


Well, that is it. Hope you can learn a bit and get inspired to do your own!
 
  • Like
Reactions: Thrasher

Nivka

Content Contributor
Feb 19, 2018
235
375
63
Awesome write up. I haven’t tried anything like this for ages. Inspires me to dust off the old tools and get back in the job!
 
  • Like
Reactions: Thrasher
OP
NCRich

NCRich

Content Contributor
Ambassador
Feb 4, 2018
643
1,981
143
Awesome write up. I haven’t tried anything like this for ages. Inspires me to dust off the old tools and get back in the job!
As I recall you got pretty good at it!
 
  • Like
Reactions: Nivka

Thrasher

The Annoyance Facilitator
Ambassador
Jan 5, 2018
1,492
2,035
163
Thank You Rich. This is like finding gold coins in a shoe box in the garage. Pictures help so much and I already have all the tools except what we talked about yesterday and now thats on order, I remember the end link problem but I dont remember how I solved it. So by cutting those loops in the end links and opening them up can you still get them to grip the spring bars? I will read this thread over and over again. What I really need is PATIENCE!!!! and to slow down.

Again Thank You....Standby for questions.
 
  • Like
Reactions: Nivka

Thrasher

The Annoyance Facilitator
Ambassador
Jan 5, 2018
1,492
2,035
163
@NCRich have you any advice on the bakelite insert ageing. On my 6542 I really need to sand and brass the bezel and age the insert
 
  • Like
Reactions: NCRich
OP
NCRich

NCRich

Content Contributor
Ambassador
Feb 4, 2018
643
1,981
143
@NCRich have you any advice on the bakelite insert ageing. On my 6542 I really need to sand and brass the bezel and age the insert
Never done that. Mine came pre-aged. That insert is very fragile. Easy to break. I have never had one of those Timeshop watches so I don't know how it is put together.